Purpose:
Section titled “Purpose:”Teach Service Desk members the proper procedure for connecting and signing users into devices
Scope:
Section titled “Scope:”Service Desk, Provisioning
Responsibility:
Section titled “Responsibility:”Service Desk, Provisioning
Completion Criteria:
Section titled “Completion Criteria:”-
User signed in with Domain or Entra Credentials
-
User’s Office apps, Outlook, Teams, and OneDrive are signed in
-
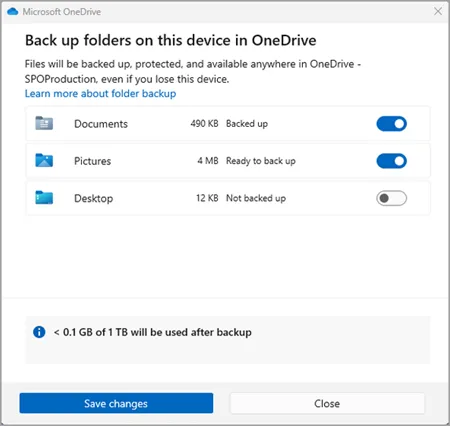
OneDrive Backup is enabled for Desktop, Documents, and Pictures
-
VPN Configured with Meraki XML
-
Umbrella module configured with OrgInfo.json
-
Default Apps Set: Mail: Outlook, Browser: Chrome:, PDF: Adobe Reader
-
Compliant with Intune Policies
-
Bitlocker Key backed up to user’s AzureAD Account
-
Utilities loaded onto the device: per client WI
-
N-Able Windows Agent
-
Device and driver have been updated (Windows Update, Lenovo Vantage/System Update)
-
Perform Mic and Camera check with a Teams test call, with users permission
-
Perform quality check against the manager’s request and the provisioning Work instruction
Records:
Section titled “Records:”Completed user-add; Provision ticket within Halo.
Steps:
Section titled “Steps:”Step 1: Advise the user to plug the device in and connect to the WiFi on the lockscreen
Section titled “Step 1: Advise the user to plug the device in and connect to the WiFi on the lockscreen”-
(In the lower right hand corner of lock screen, a globe if disconnected.)
-
Refer to the company PwState Network entires tab if they ask for the corporate WiFi network password.
-
Connect to the device via N-central searching for it via the serial number, hostname, or previously signed in user.
-
if you cannot do that, give the user the localuser password and have them setup a help8787.com session.
Step 2: Once you are in:
Section titled “Step 2: Once you are in:”Determine the type of setup you will need to follow, Domain User-Add Steps 2.1 or Entra/Azure Steps 2.2, depending on the client. This should be made clear within the provisioning docuement.
Step 2.1: Domain User-Add
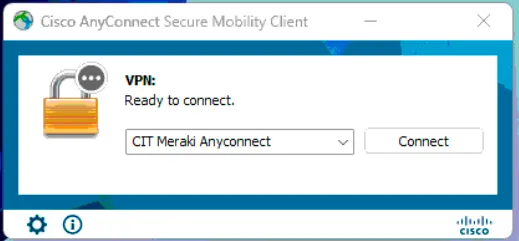
Section titled “Step 2.1: Domain User-Add”- Activate the vpn
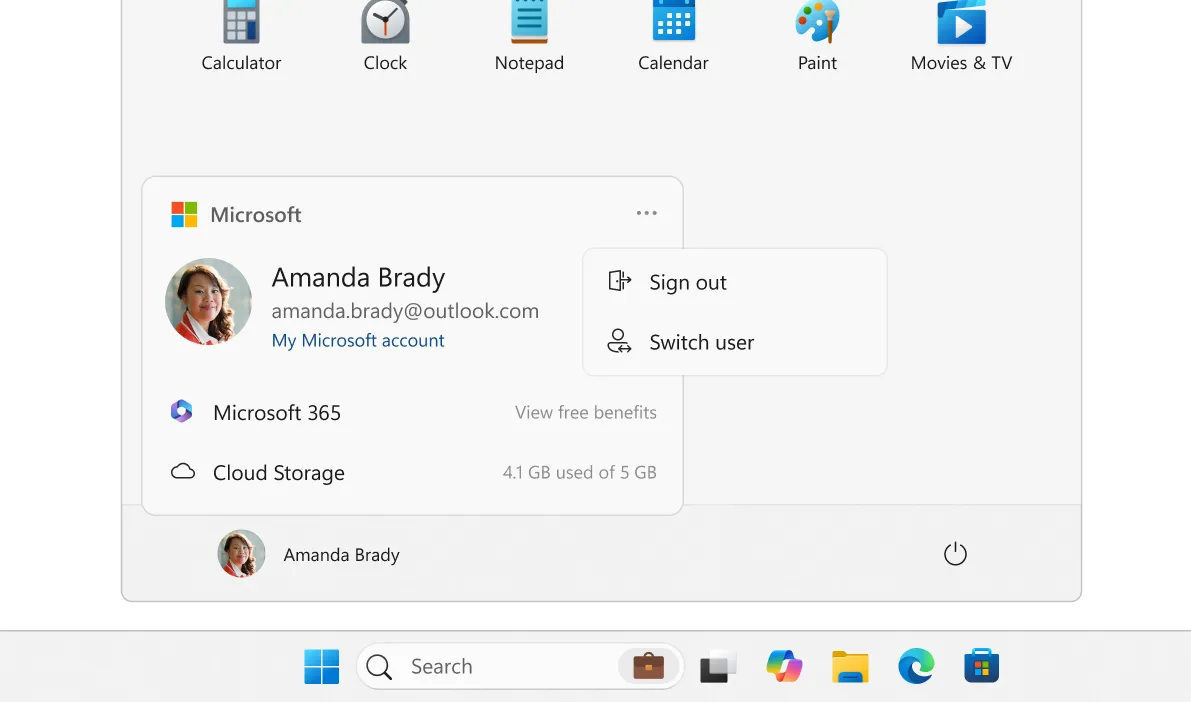
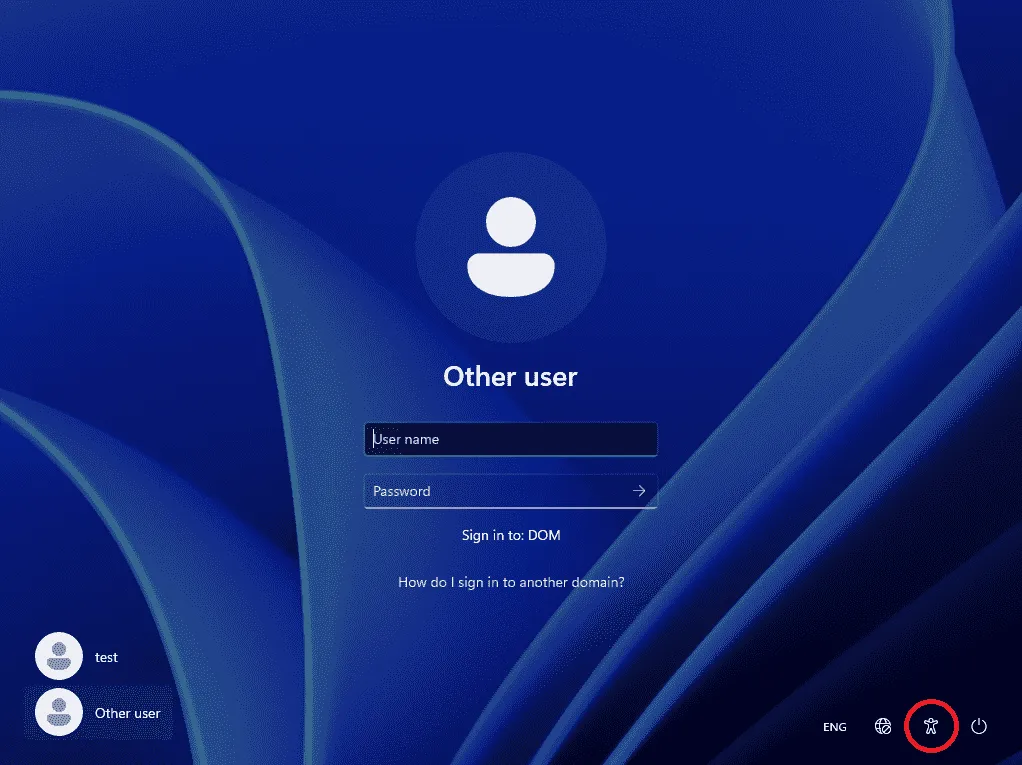
- Switch user accounts
- Have the user sign in with their domain credentials.
-
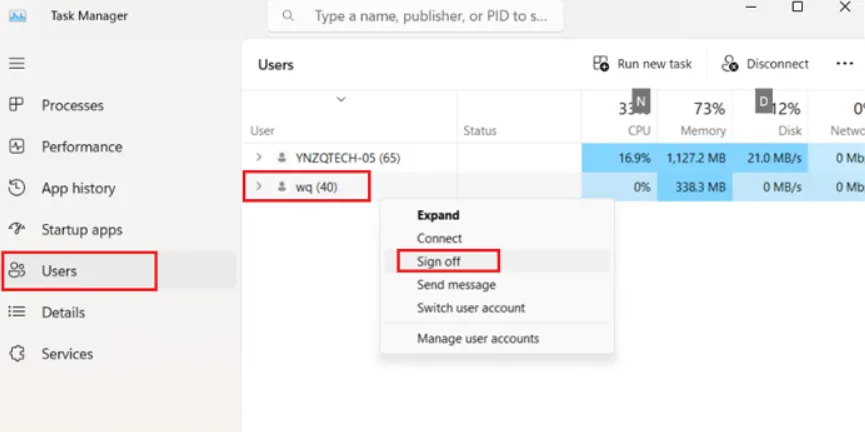
Once you are signed into the users account, launch task manager as admin
-
Switch to the signed in users tab, right click on localuser and select Sign off.
-
You can now launch the VPN and sign in with the users credentials
-
Sign into the VPN before attempting Microsoft 365 apps sign ins.
Step 2.2: EntraID/AzureAD User-Add
Section titled “Step 2.2: EntraID/AzureAD User-Add”-
Navigate to Settings
-
Navigate to Work or School settings
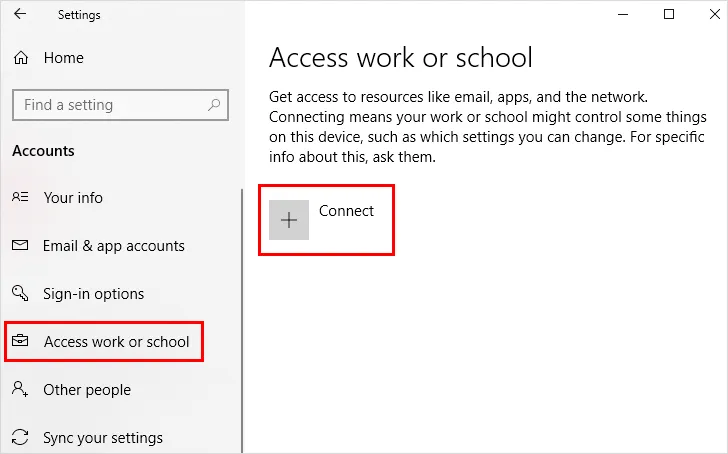
- Select “Sign-In” to work or school
-
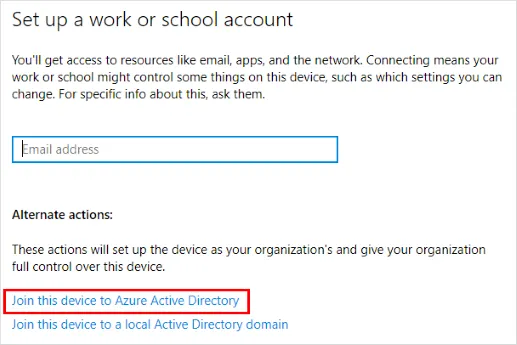
Once the Microsoft sign in panel appears, select the blue “EntraID/AzureAD Corporate Sign in” link
-
Sign in with the user’s Microsoft credentials
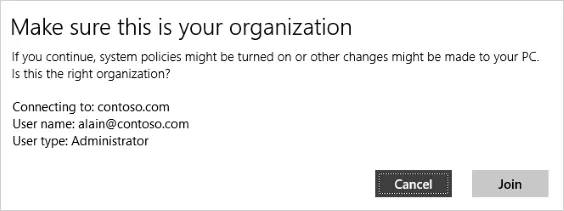
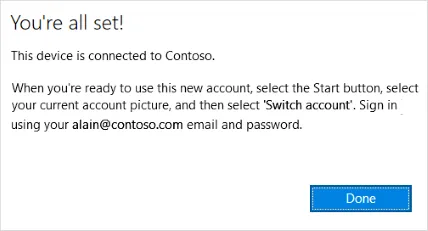
- Agree to join the organization
-
Navigate to the start menu and select switch user
-
Sign in with the users Microsoft 365 e-Mail and password
-
The user will likely be required to setup a pin, faceID, or fingerprint.
-
Users can forgo biometrics but must have a pin. usually 6 digits.
Step 3.0: Once the user is signed in:
Section titled “Step 3.0: Once the user is signed in:”-
Setup the user profile
-
Sign into Outlook, pin it to the taskbar
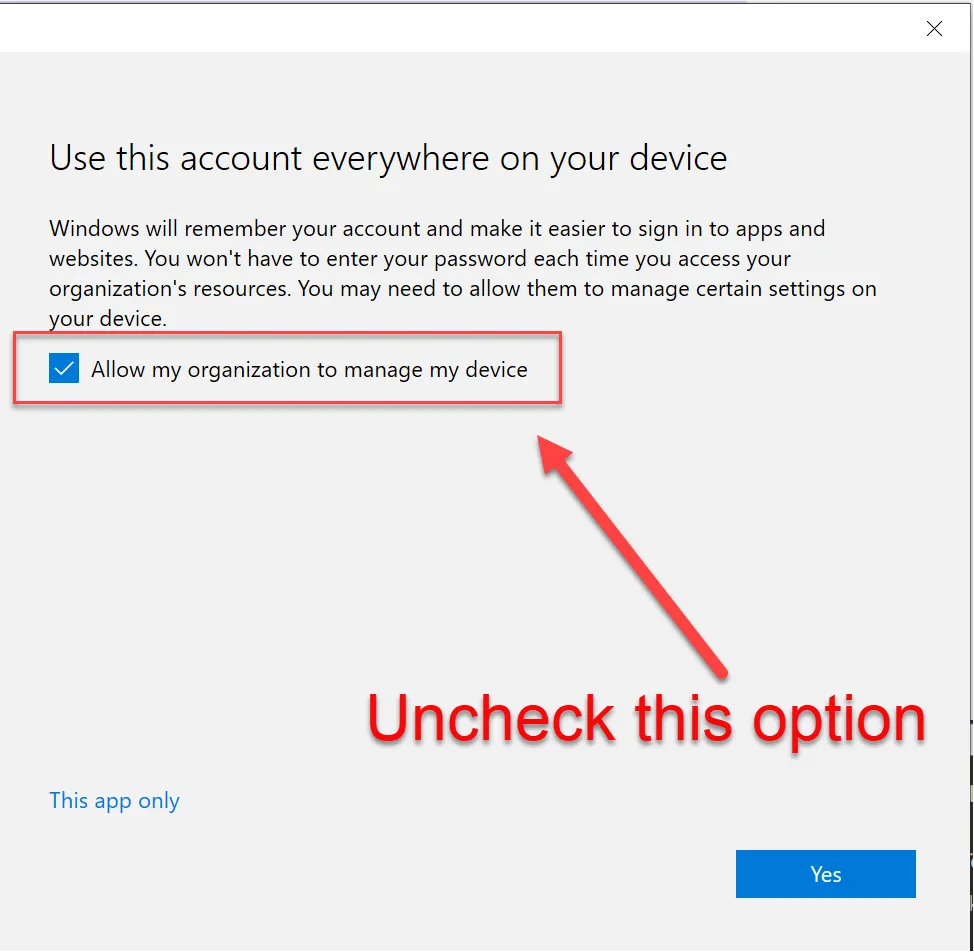
- When presented with this screen, uncheck the box that “Allows this organization to manage my device” as it tends to cause authentication issues with TPM.
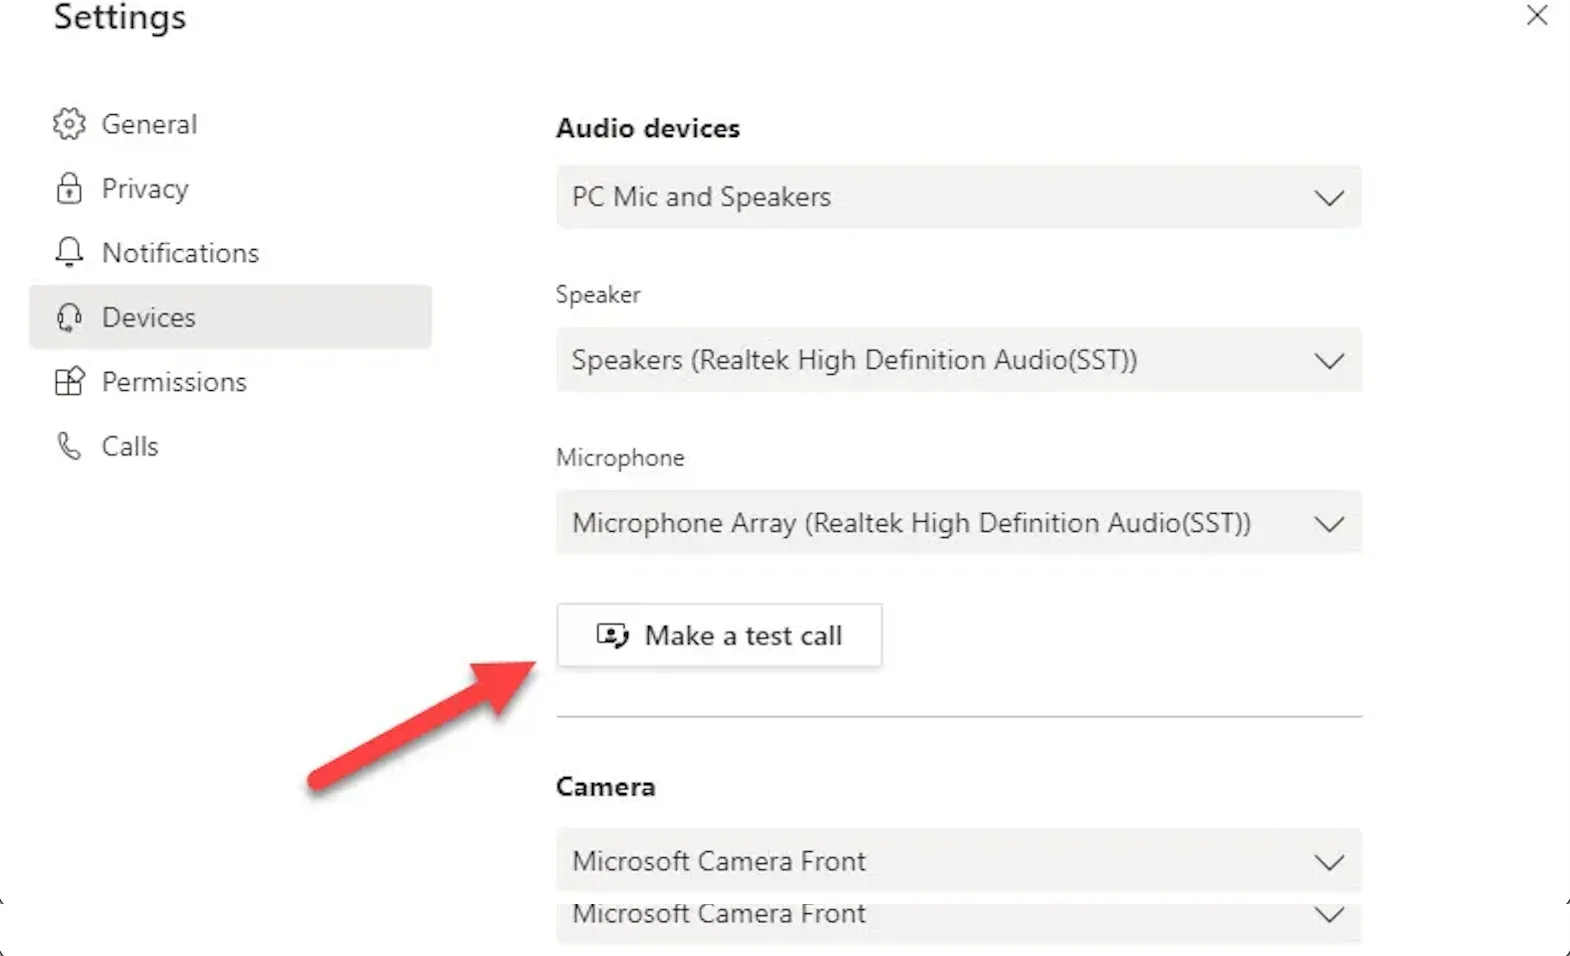
- Setup Teams, perform a test call to ensure the camera and mic work and that no network authentication message pops-up during the users first meeting.
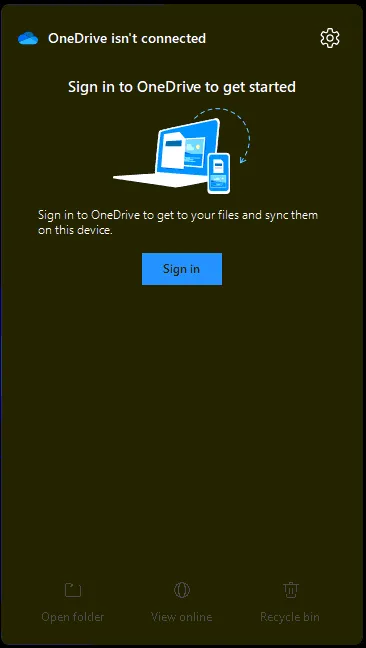
- Setup OneDrive from taskbar shortcut
-
Set App defaults with Settings
-
Set system sleep times 15-30-30-1Hr.
-
Clean up taskbar and Start menu bloat if needed.
Step 4.0: Connect to users old device
Section titled “Step 4.0: Connect to users old device”-
Mirror as much as you can
-
Make sure OneDrive is signed in, and that saving Desktop/Documents/Photos is Backup enabled for easy transfer.
-
Ensure that the new device has documents and desktop backup enabled as well for two-way easy sync for the users desktop files.
-
Add any extra apps they may need that aren’t part of base provision. Eg: Zoom outlook Plugin, Slack,
-
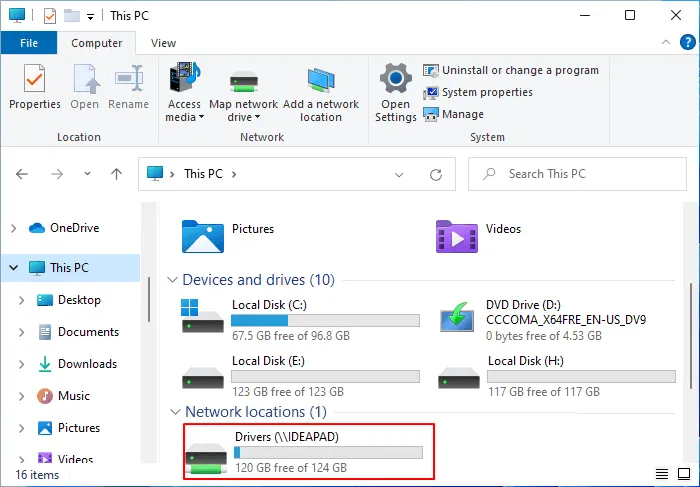
Make sure drives are mapped in file explorer
- Make sure Browser bookmarks are moved over. Ask if they have a google sign in for Chrome (Edge should be work sign in if they use it)
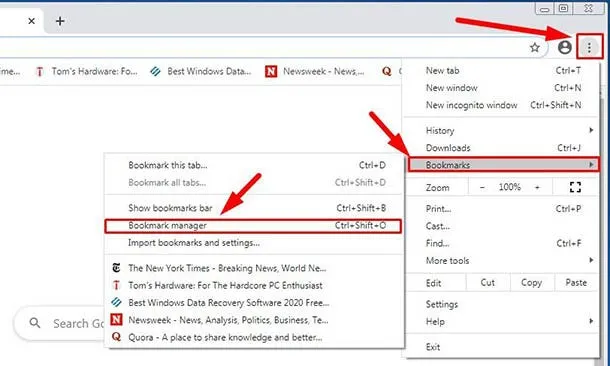
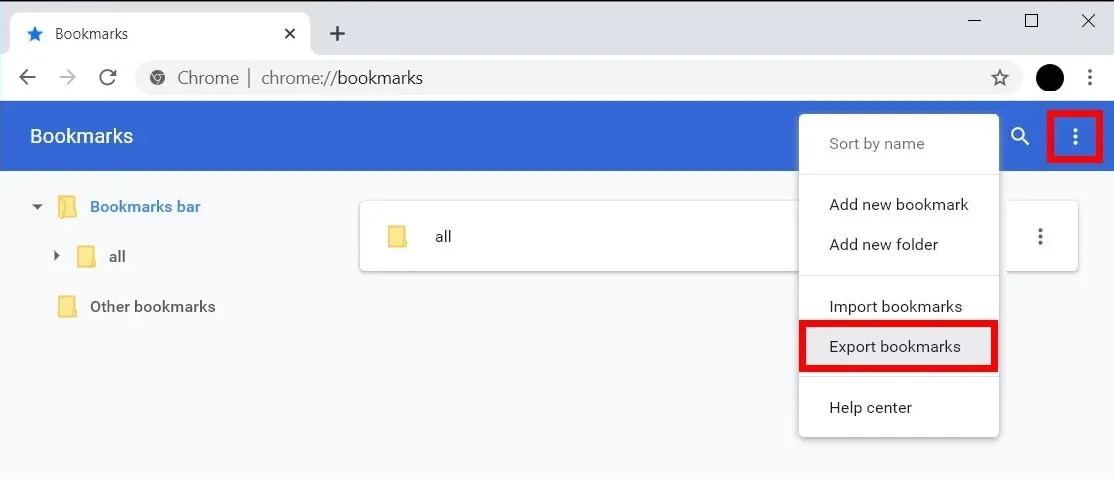
- Or offer to manually move the bookmarks over utilizing the google bookmark manager to export the file to the desktop. OneDrive should pick it up so you can apply it to the new machine once sync has completed
- Perform a Quality Check with the user and ensure they are pleased with the new setup.
Step 5.0: Golden Rule: Do your utmost to match the existing user setup to their setup on the the old machine.
Section titled “Step 5.0: Golden Rule: Do your utmost to match the existing user setup to their setup on the the old machine.”Process References:
Section titled “Process References:”- WI - CIT Internal Windows Endpoint Provisioning - KB00024358