Purpose:
Section titled “Purpose:”Have a consistent way of entering in and managing vendor contacts
Scope:
Section titled “Scope:”All departments
Responsibility:
Section titled “Responsibility:”All departments
Completion Criteria:
Section titled “Completion Criteria:”When vendor contact is created with minimum criteria. First name, Last name, email address, domain, URL if applicable, and company name
Records:
Section titled “Records:”In user record under centrexIT company
Steps:
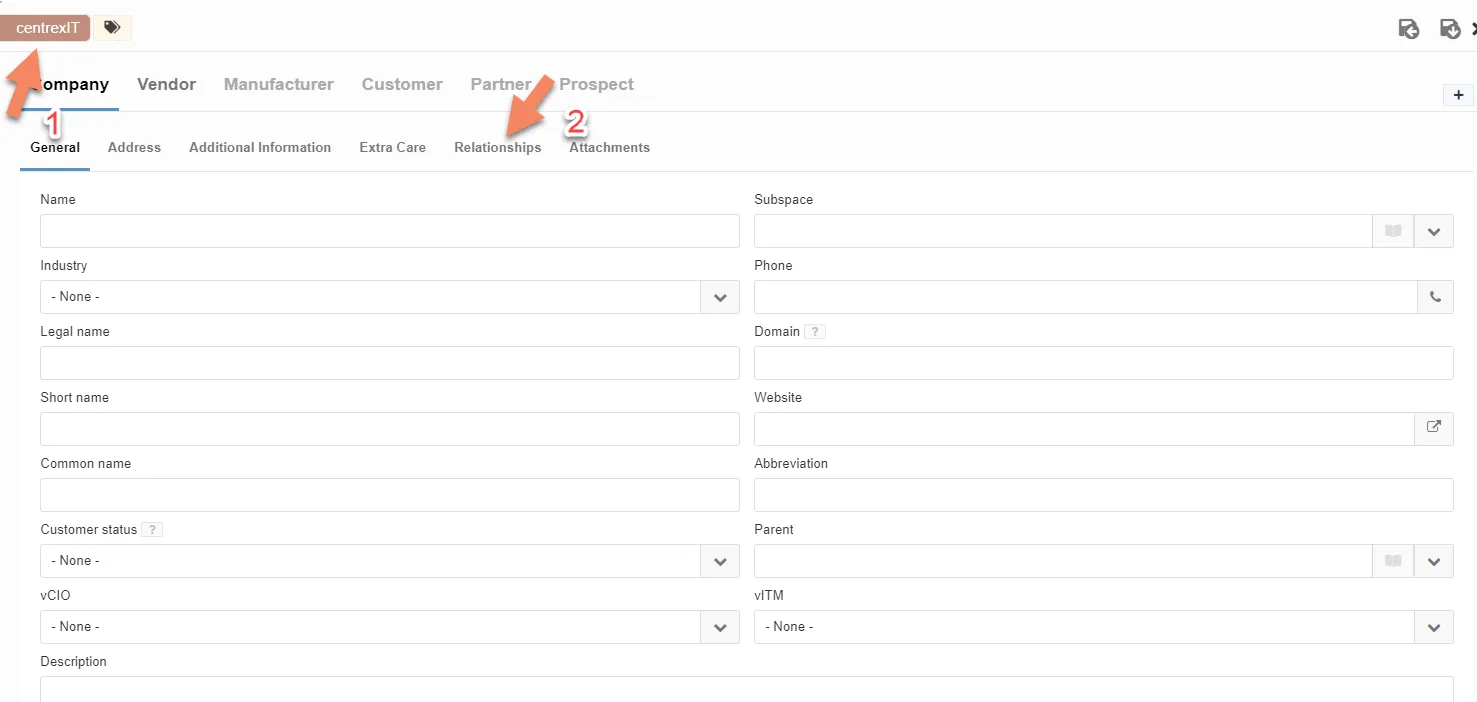
Section titled “Steps:”- Navigate to the Companies tab the click on Vendor at the top and select the + button in the upper right.
-
Once the slide out opens make sure centrexIT is the company selected at the top left. Make sure to add all pertinent information about the client but most importantly the domain.
-
Click on the relationships tab and click on + Add Company
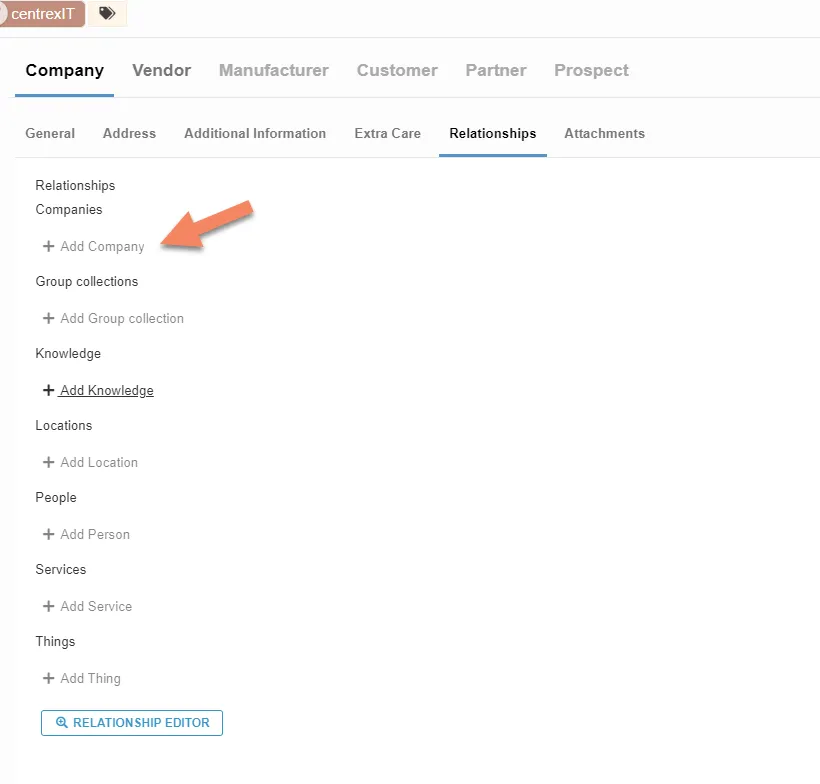
-
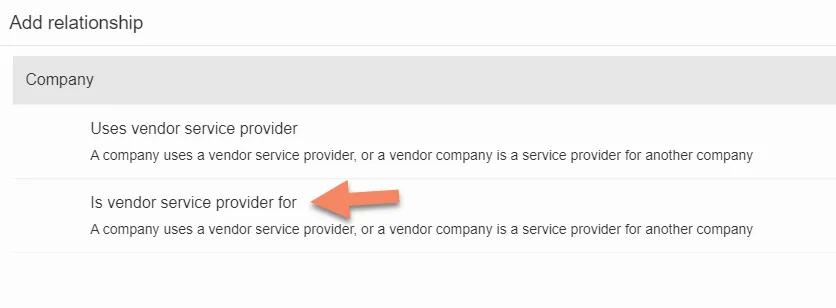
Select “Is vendor service provider for.” and add the relationship and save and stay there.
-
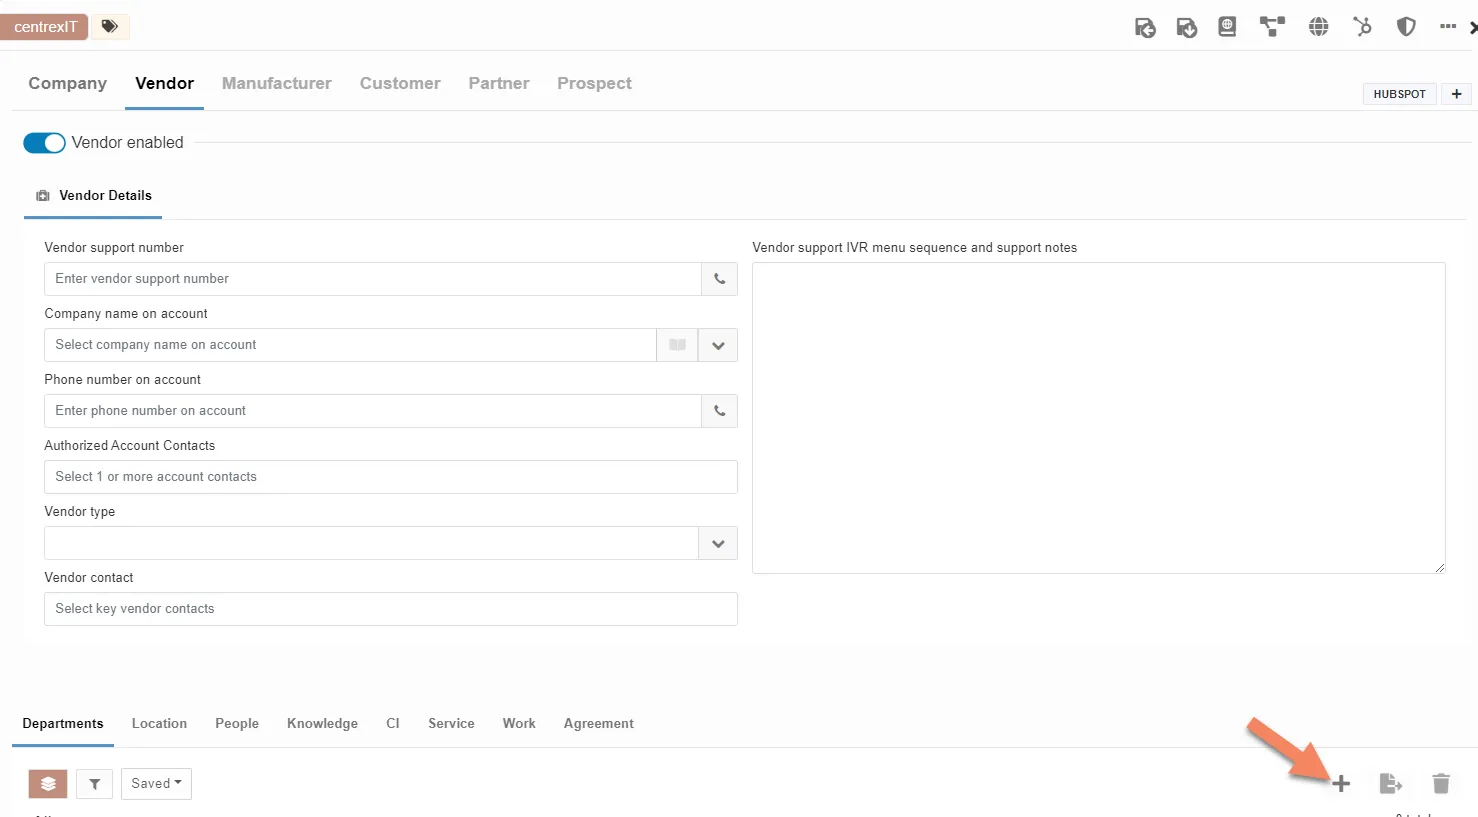
Click on the Vendor tab at the top and make sure the toggle is on for “Vendor Enabled.”
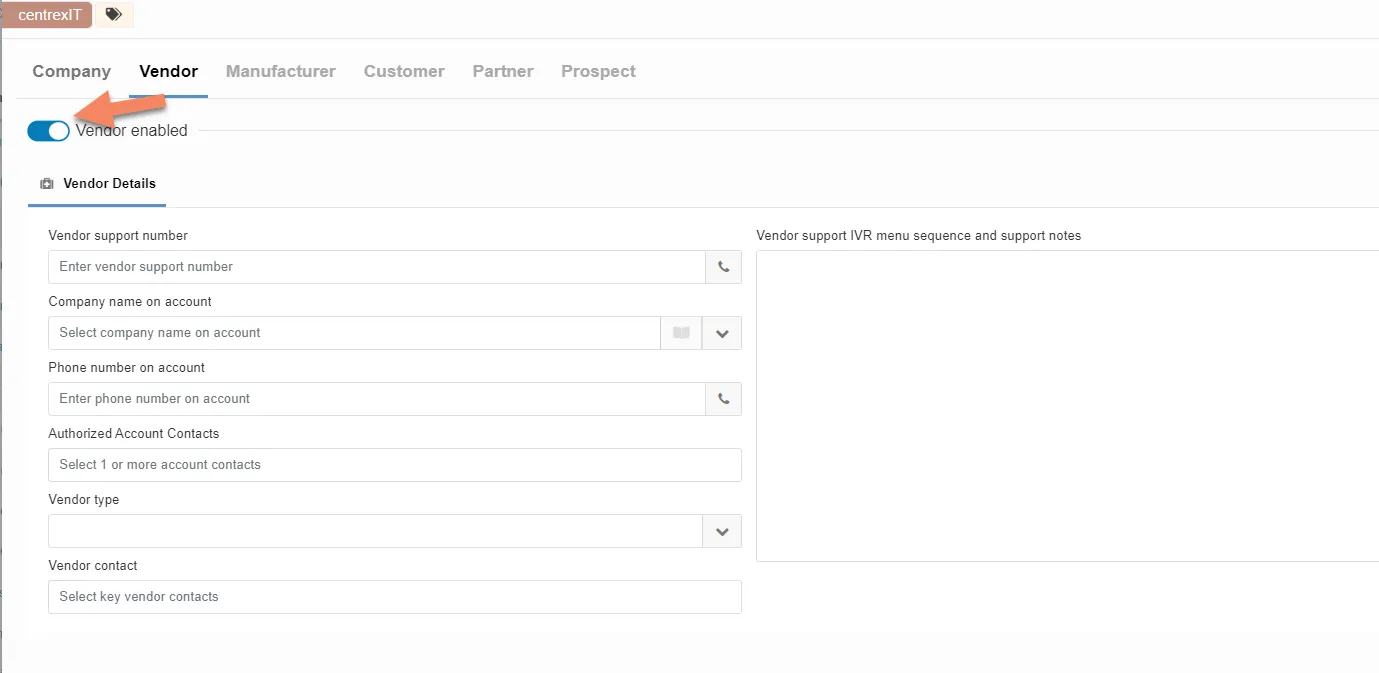
-
Click on the + icon to associate a vendor contact to the vendor company if applicable and fill out pertinant information. Save and return tro previous page.
Process References:
Section titled “Process References:”- Create a relationship back to related process. Note: Please add KB relationships to core process, process, SOPs or other WIs on the right.