Purpose:
Section titled “Purpose:”Establishing a simple and repeatable process for reprovisioing devices to a single standard
Scope:
Section titled “Scope:”Service Desk - Provisioning
Responsibility:
Section titled “Responsibility:”Service desk - Provisioning
Completion Criteria:
Section titled “Completion Criteria:”Successful reprovision per the following reprovisioing work instruction and Client or CIT work instruction parameters.
Records:
Section titled “Records:”Puzzle ticket, inventory in and out, and fog server records for imaging.
Steps:
Section titled “Steps:”Endpoint reprovision and updates with FOG
Gain Access
Section titled “Gain Access”- Sign into localuser with client credentials- If localuser is inaccessible, attempt to access the device via N-Central to reset the password- If the system is online and connected, Take Control and access the terminal, and run net user localuser (desired password)
- You will now be able to log in to the localuser account- If the device is no longer in n-central and is not in the asset discovery list for import, you may still be able to reimage without logging in- If the device has bitlocker enabled, you will need to disable that first.- To enter the bitlocker recovery screen, begin by holding shift before clicking "restart" when on the Windows lockscreen
- Selecte Troubleshoot
- Select reset the device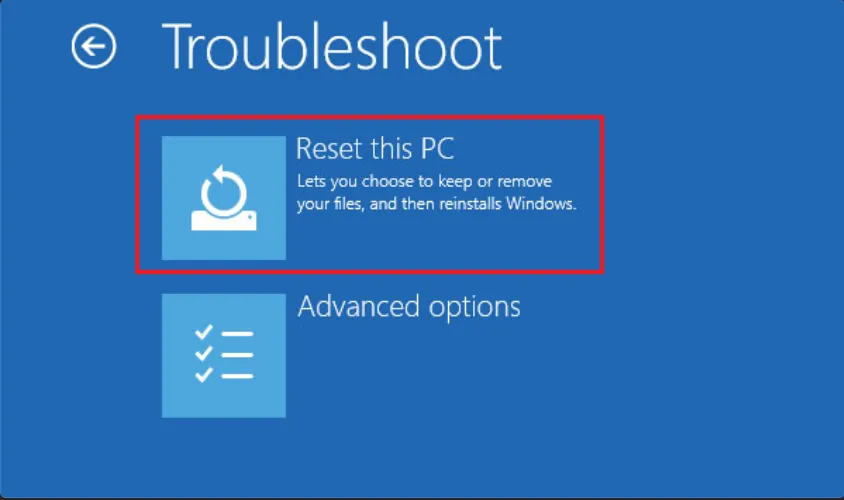
- Enter Bitlocker recovery and locate the asset tag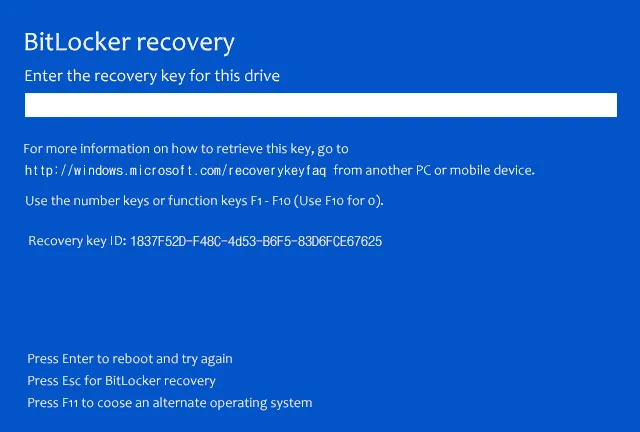
- locate the bitlocker key in Active Directory under "computers" or via Azure Active Directory endpoint manager- Enter the bitlocker key and proceed with intials reset steps- once the device has had bitlocked removed or has been reset, you can reimage via FOG server image deployment with the desired client image.Boot to System BIOS
Section titled “Boot to System BIOS”- Disable Secure-Boot to allow for PXE booting- Restart and select boot menu, F12 for Lenovo. Delete or Enter will usually allow you to Enter the Boot or Bios menus on most machines.- PXE boot via the ipv4 adapter- Fog will boot, select "Deploy image"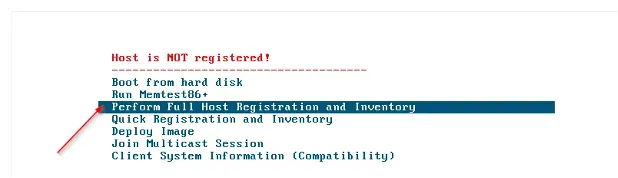
- Sign into fog service with your user account- Select either Win 10/11 Golden image or a Client Specific imageSetup device drivers
Section titled “Setup device drivers”- Manually install networking and trackpad drivers if needed from the manufacturer website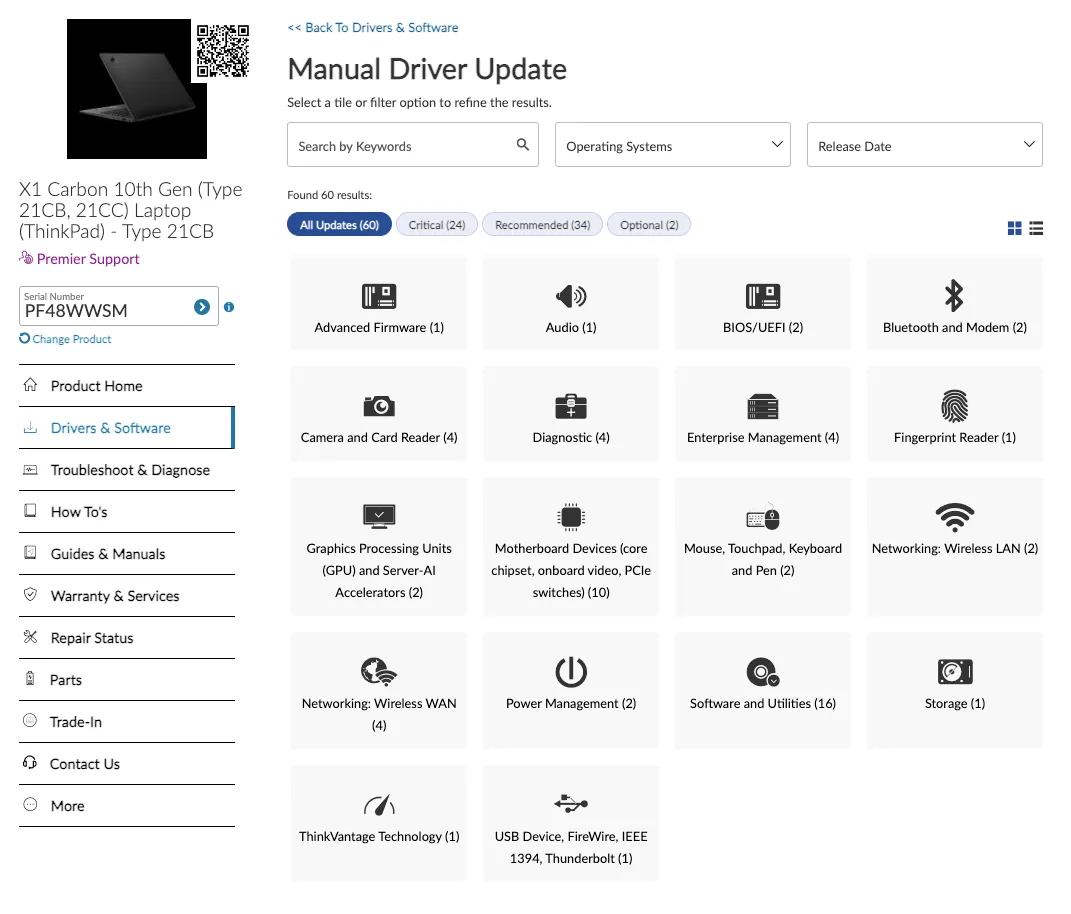
- Run Lenovo System Update (https://download.lenovo.com/pccbbs/thinkvantage_en/system_update_5.08.01.exe)- Dell Command update (https://dl.dell.com/FOLDER07582851M/3/Dell-Command-Update-Application_8D5MC_WIN_4.3.0_A00_02.EXE)- Run Windows UpdatesSign into the localuser Adminstrator account
Section titled “Sign into the localuser Adminstrator account”- set a client specific password for localuser- navigate to Windows Security- Click "Firewall"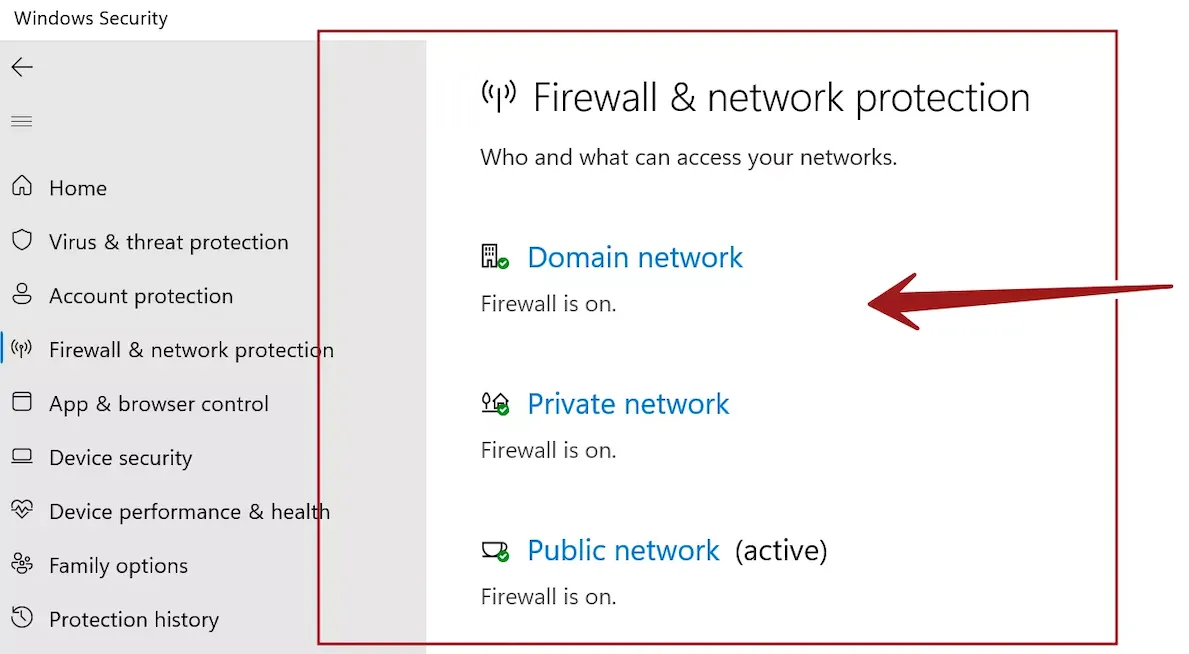
- Re-enable all firewalls per Windows recommendation- navigate to Computer Management- Delete the test account you created so that only the default accounts and loclauser are present- Delete "Fog Service" from the control panel application list- Delete Windows 10 Deployment tools from the control panel application list- Verify that any loose files and folders pertaining to the test user or fog service have been removed from- C drive- Progam Files X86- Program Files- Program Data (hidden)- Temp files- etc- Verify Windows Agent is functional- Rename device per company standardQC Against Client or CIT Provisioing Work instructions
Section titled “QC Against Client or CIT Provisioing Work instructions”Process References:
Section titled “Process References:”- Create a relationship back to related process. Note: Please add KB relationships to core process, process, SOPs or other WIs on the right.