Purpose:
Section titled “Purpose:”CIT Devices must be provisioned to a standard that meets or exceeds the process we implement for our clients.
Scope:
Section titled “Scope:”Service Desk - Provisioning
Responsibility:
Section titled “Responsibility:”Service Desk
Completion Criteria:
Section titled “Completion Criteria:”CIT Endpoint provision aligning with company standards and compliance policies
-
Localuser Admin account created with CIT-gm#5309 password
-
Device added to RDCSecure.com CIT Domain
-
CIT User signed in with Domain Credentials
-
User’s Office apps, Outlook, Teams, and OneDrive are signed in
-
WebEx is signed in
-
OneDrive Backup is enabled for Desktop, Documents, and Pictures
-
VPN Configured with CIT Meraki XML
-
Umbrella module configured with OrgInfo.json for CIT
-
OneLogin signed in, Extension added to default browser, and Bookmarked in Bookmarks Bar
-
Default Apps Set: Mail: Outlook, Browser: Chrome:, PDF: Adobe Reader
-
Compliant with Intune Policies
-
Bitlocker Key backed up to user’s AzureAD Account
-
Utilities loaded onto the device: PhraseExpres, Snagit (Licensed)
-
SentinelOne Agent
-
N-Able Windows Agent
-
AdLumin (Deployed via GPO)
-
Device and driver have been updated (Windows Update, Lenovo Vantage/System Update)
-
Perform quality check against the manager’s request and the provisioning Work instruction
-
REMOVE old device from n-central if device is a replacement
Records:
Section titled “Records:”Halo, Immy.Bot
Immy.Bot Steps:
Section titled “Immy.Bot Steps:”-
Unbox the machine
-
Prepare an ImmyBot Provisioning package for the new machine, reference KB00038353
Set the password to match the CIT localuser standard
-
the Immy.Bot website will provide instructions and installation parameters
-
Boot the new device
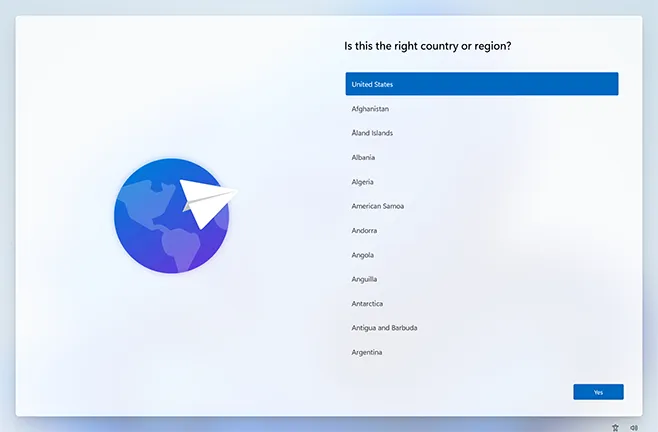
- At the Region selection screen, insert the USB Flash drive with the CIT immy agent on it

-
Select “Install Provisioning Package” and select the CIT ppkg.
-
It will then pull the provisioning package and begin auto-setup, if that was selected.
-
Remove the USB Flash drive on the Windows prompt says to
-
ImmyBot will apply the following software to the CIT device to get it provisioned per the CIT standard over the course of 1-2Hrs
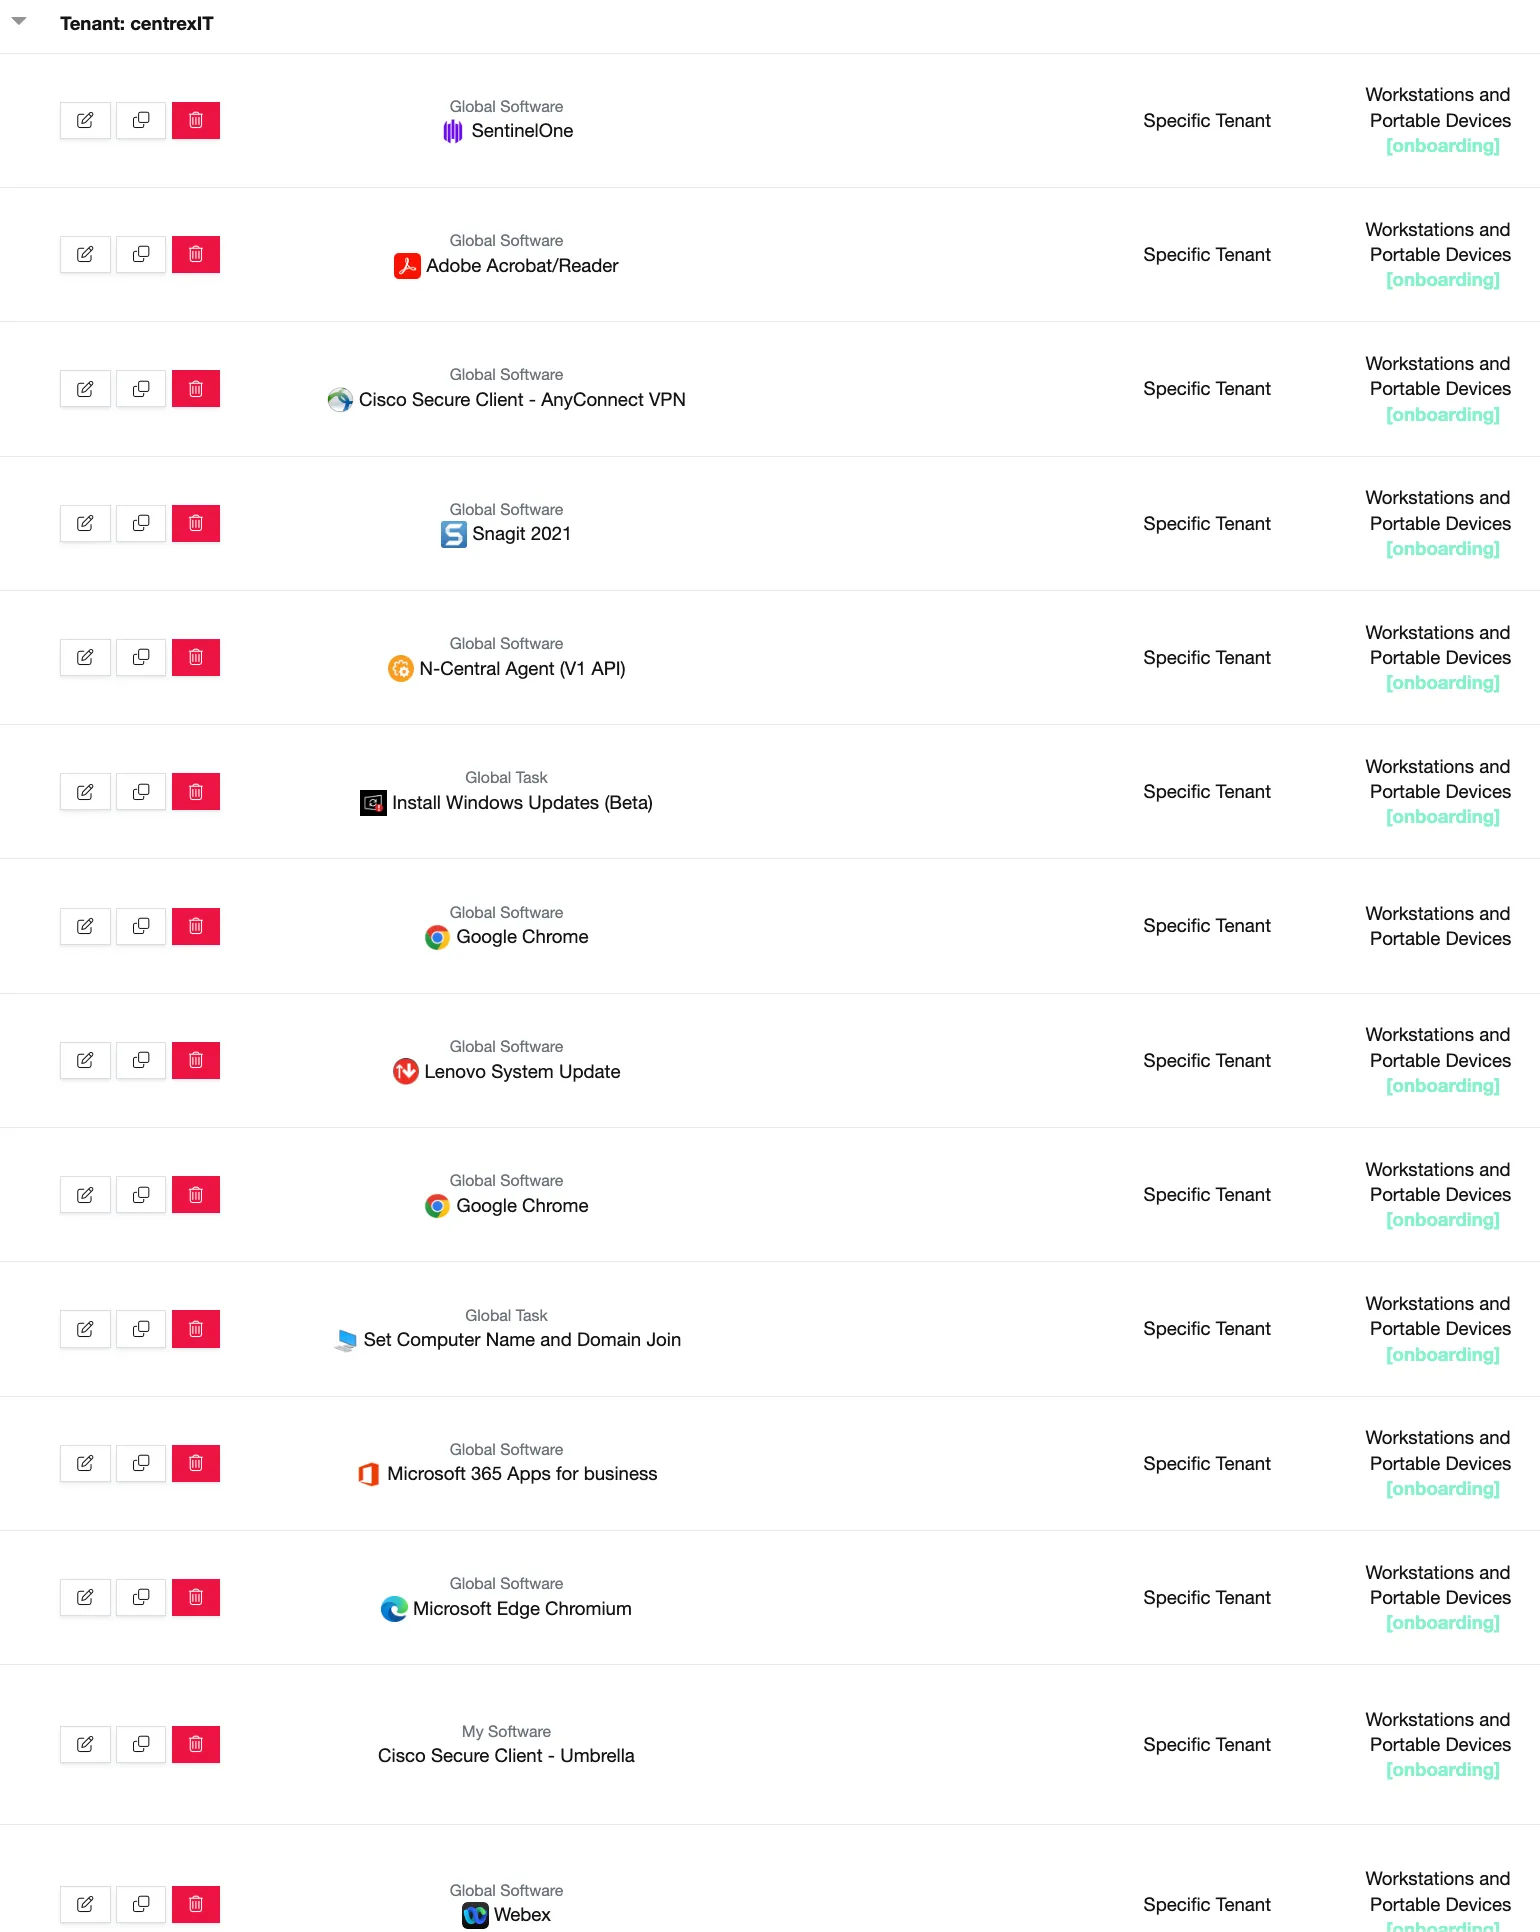
-
Login to the localuser account
-
Immy.Bot has global tasks for removing bloatware, but please perform a manual quality check to ensure that no bloatware or promotion pop-ups remain
-
Open Windows start and remove or uninstall all Windows-Store based Advertising/Partner applications (Adobe Offers, Spotify, TikTok, Candy Crush, XBox, etc.)
-
ImmyBot will begin Windows Updates and deployments for all the below steps.
-
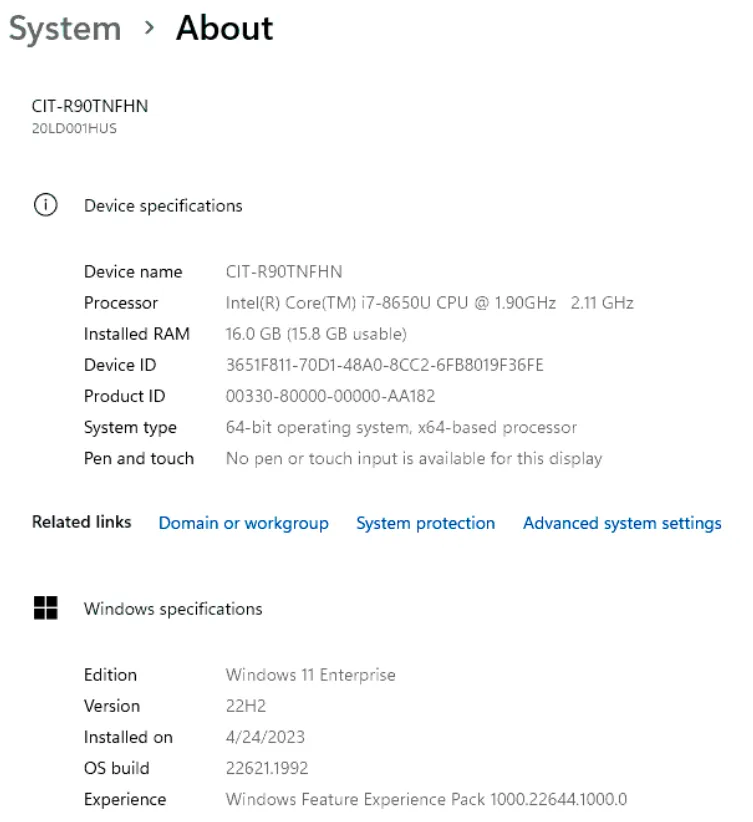
Rename the Device CIT-SerialNumber if Immy.Bot does not

- Navigate to Control panel>Search for Domain
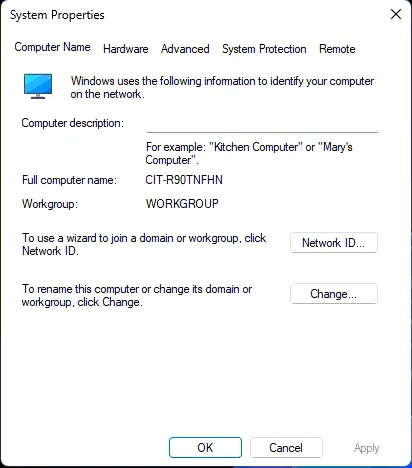
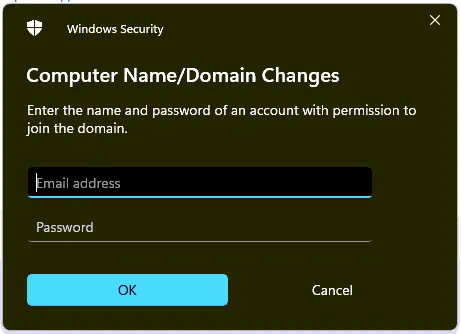
- Rename Device, and add to RDCSecure.com Domain with the assistance of a Lead and their Admin credentials
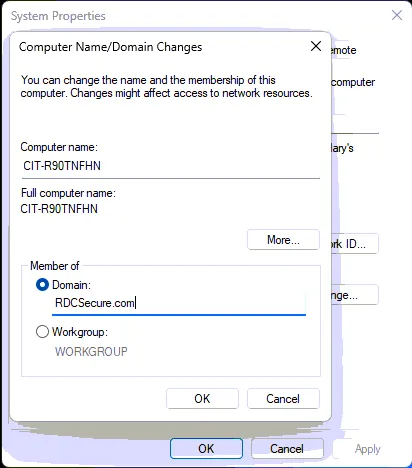
- Add the system to the CIT domain: RDCSecure.com
-
Once the account has been added, sign out, and select “other user” to Sign in with the user’s domain username and password.
-
Verify device has been renamed and that it is now running Windows Enterprise Edition
Within The New User Profile:
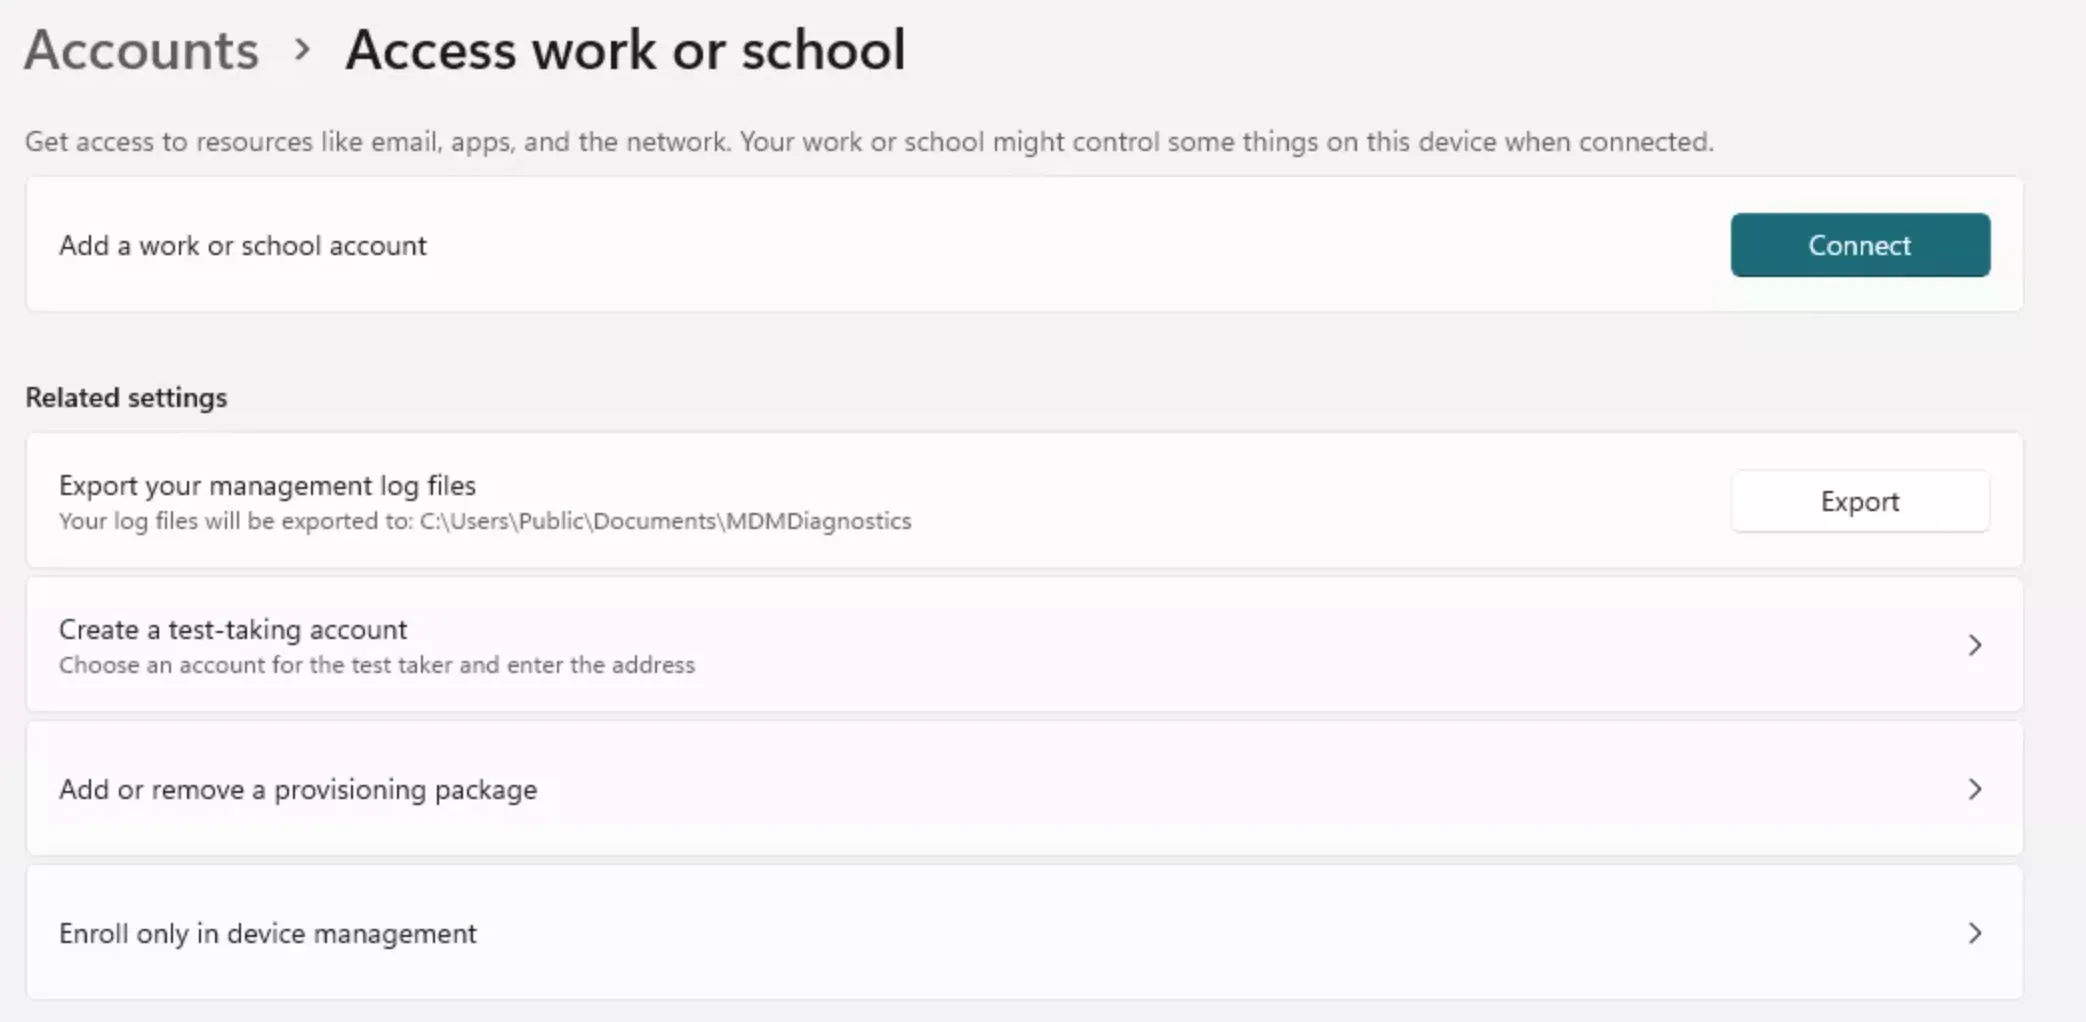
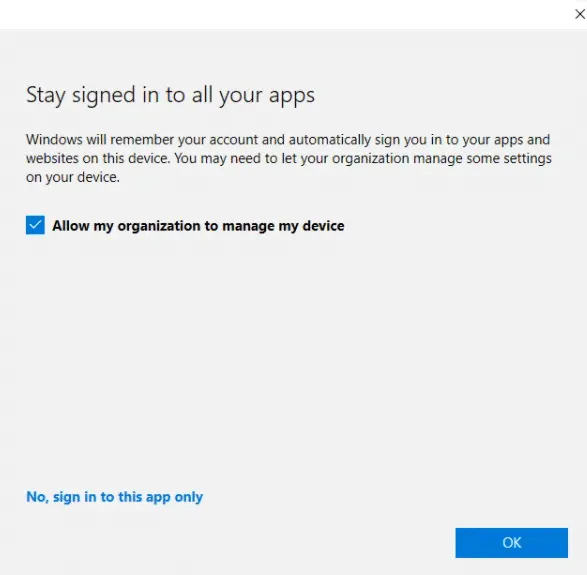
Section titled “Within The New User Profile:”- Once the user has signed into the device, Sign into Work or School
 .png ‘Title’)
-
Setup the Company portal, and add the CentrexIT e-mail to the work or school section of Settings>Account>Work or School
-
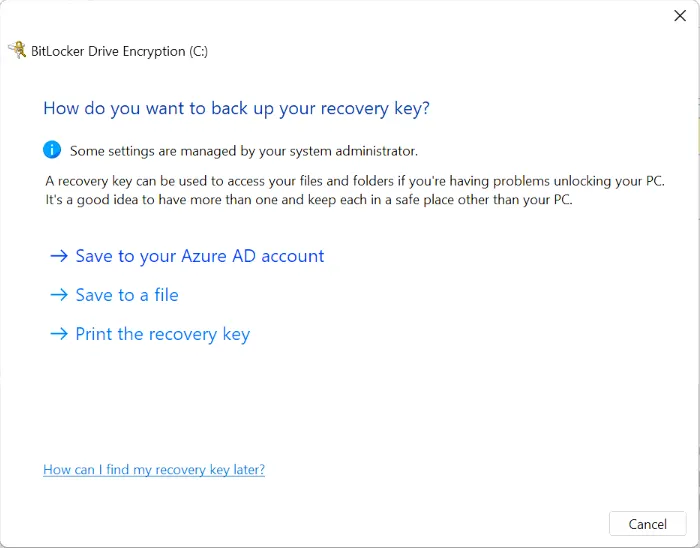
Enable BitLocker encryption in the Control panel
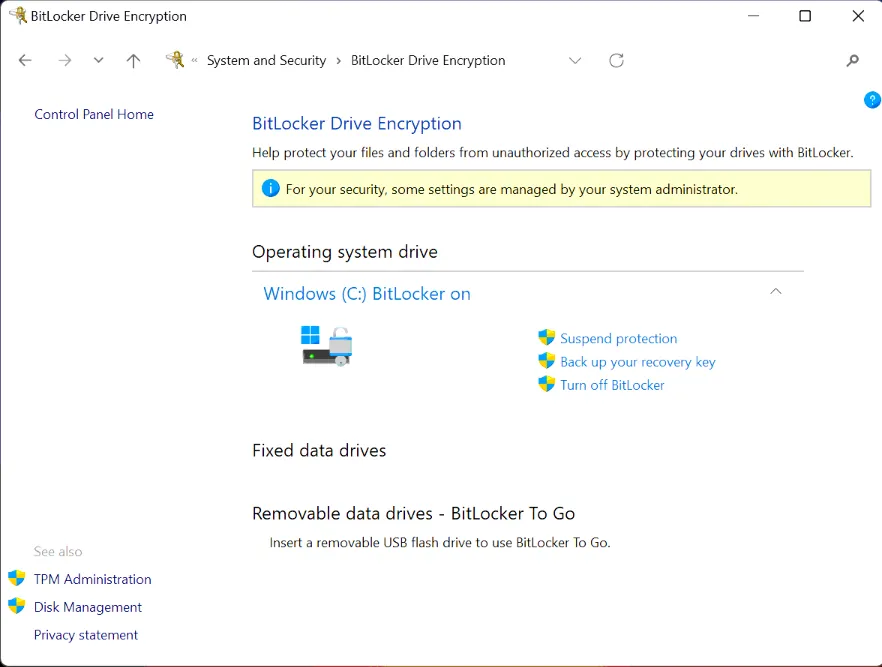
- Save the BitLocker key to the AzureAD Account
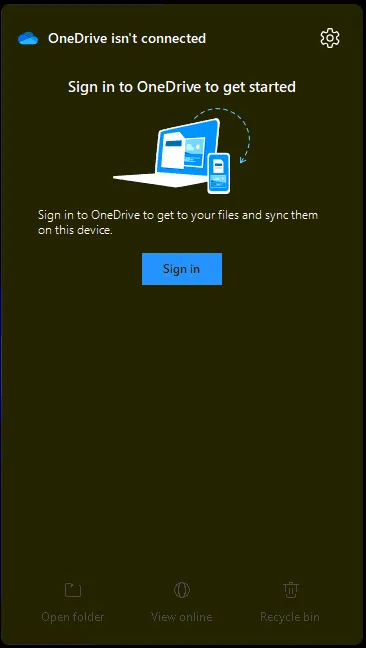
- Sign in to the user’s OneDrive
-
Sign into Microsoft Office and Accept the terms
-
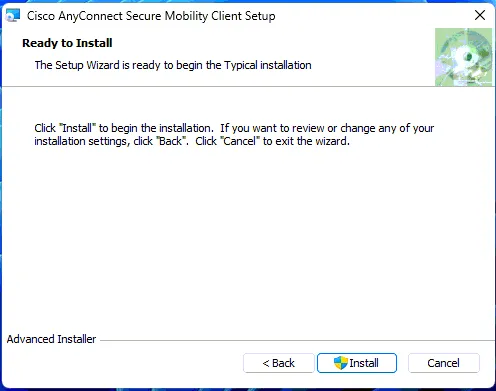
Install Cisco Secure Client and Cisco Secure Umbrella
-
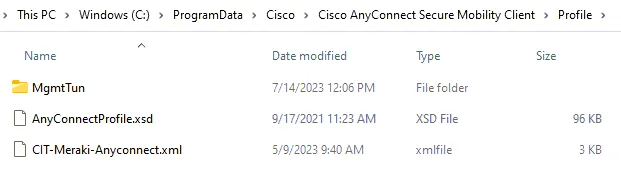
Move the CIT AnyConnect XML profile to the Cisco profile folder
-
C:\ProgramData\Cisco\Cisco Secure\VPN\Profile
-
Move the CIT umbrella JSON profile to
-
C:\ProgramData\Cisco\Cisco Secure\Umbrella\OrgInfo.JSON
- Restart Cisco Secure from the Windows Items Menu bar and verify that the ICTAddress has auto-populated. This will apply to every profile that signs in.

-
Set the app defaults:
-
Mail: Outlook - Sign-in to the profile
-
Browser: Chrome - Add a CentrexIT.OneLogin.com Bookmark bar favorite, and preinstall the OneLogin extension
-
PDF: Adobe DC/Reader
- If this is for a new user, please check with their manager to make sure we add any specialized applications they may need
- All steps described below do not need to be performed manually but are written out in case one does need to perform a manual provision.
- Immy.Bot setups can be done remotely is a user is comfortable with flash drives.
- Please QC Immy’s completed work against the standards below:
Manual Provisioning Steps:
Section titled “Manual Provisioning Steps:”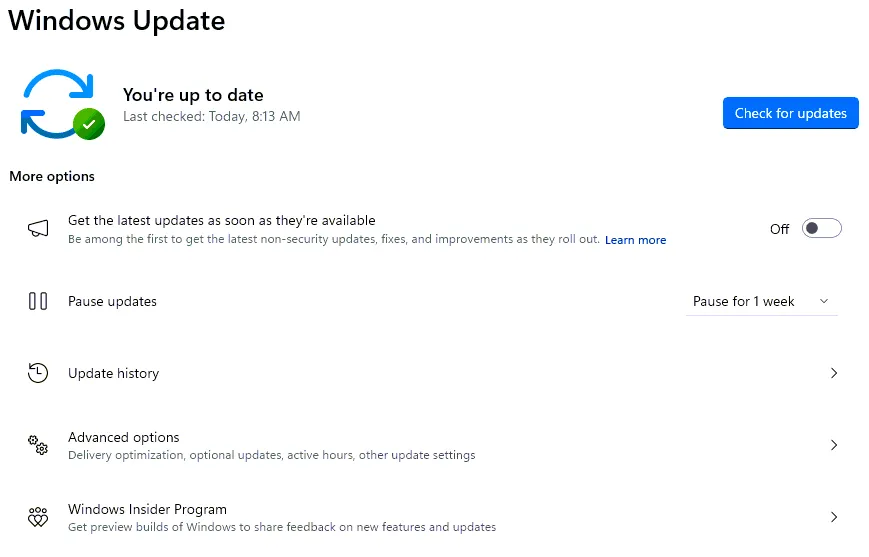
- Navigate to “Advanced Options”
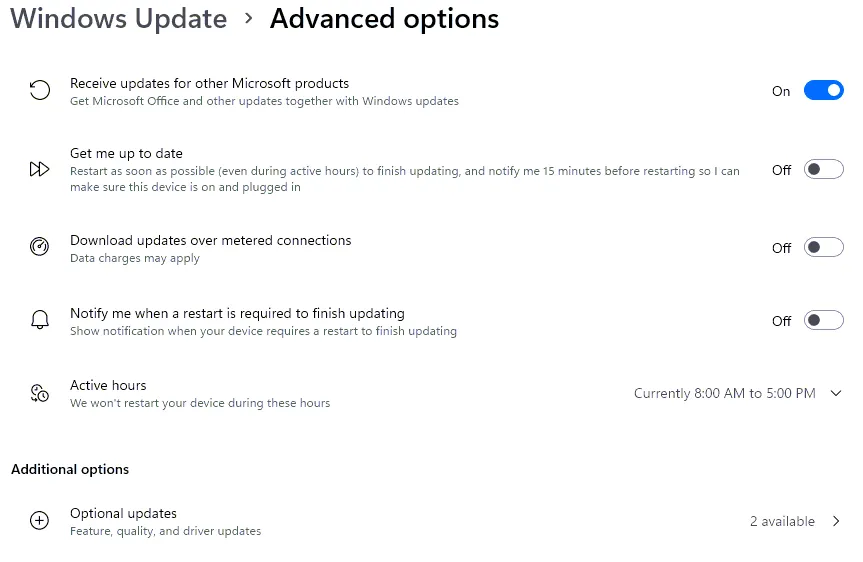
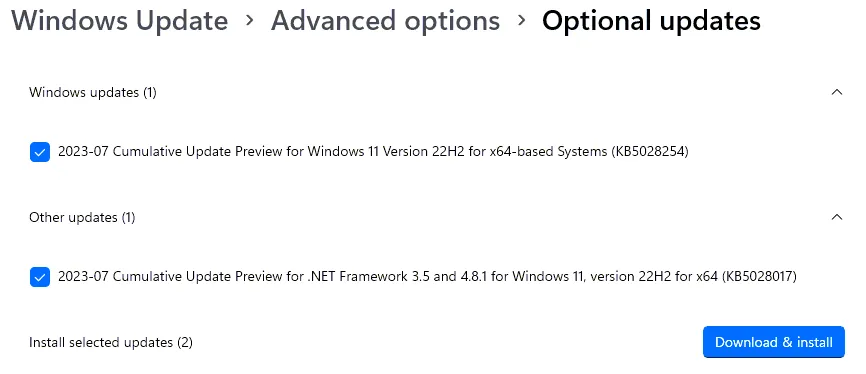
- Choose “Optional Updates” and Apply all that are available
-
Navigate to Lenovo Vantage or Install Lenovo System Update
-
Apply all available updates
-
For Dell Devices, please navigate to Dell Command Update and apply all available updates
Begin installing the PBA’s
Section titled “Begin installing the PBA’s”-
Locate the CIT provisioning folder in
-
//cit-fs.rdcsecure.com/Operations/cTAC/Software/Client Software/CIT
-
CentrexIT Sharepoint centrexIT - Service Desk General Archive/cTAC/Software/Client Software/CIT
-
Add the CIT Windows Agent
-
Add the SentinelOne Agent with the CIT Token
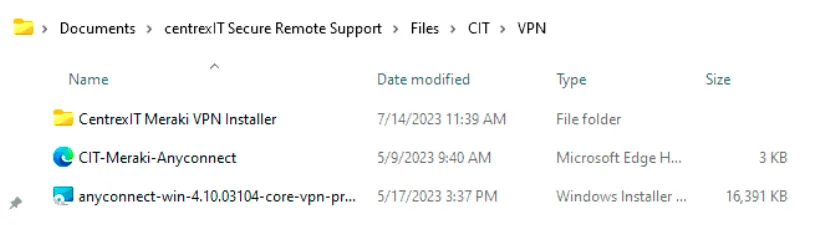
- Install the CentrexIT Meraki VPN
- Add TechSmith Snagit v21 to the device, ImmyBot has the license preconfigured for deployment
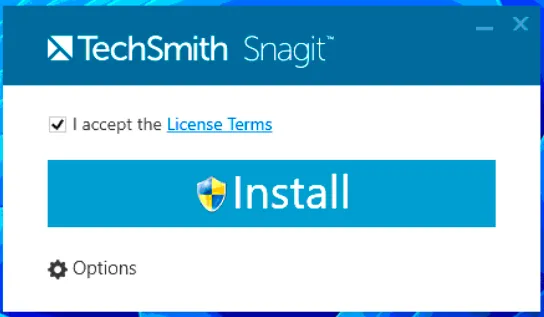
-
License SnagIT with the serial number found in the same folder as the installer
-
Install Chrome, FireFox, and Adobe Reader (If DC Pro is not required)
-
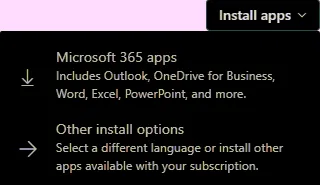
Install Office Apps for Business (*preferably through Immy.bot or the users portal.office.com account to ensure the correct version for the user)
Process References:
Section titled “Process References:”KB00038353 WI - ImmyBot: How to Provision an Endpoint