Follow these steps to add email distribution groups in Microsoft 365 for a client.
- Portal.Office.Com – Open a private browsing session on your computer and navigate to portal.office.com. You can also open a browser on the client’s domain controller to access portal.offfice.com, if they use one.
- 1Password – Access 1Password and navigate to the client’s folder. Click on “Websites” to bring up the client’s website account information and copy the credentials for “Office 365 Admin.”
- Admin Portal – Log into M365 Admin center with the Admin credentials you copied from 1Password.
- Select Admin Icon – Select the “A/gear” admin icon located on the left-hand side of the screen.

- Access Exchange – Scroll down to the bottom of the left-hand side of the screen and select the “Exchange” Admin center.

- Access the “Groups” tab – In the Exchange Admin center, click on “Recipients” and select “Groups” from the drop-down menu.

7. Select Distribution list – Select the “Distribution list” tab on the top of the screen.

- Add a Group – Select “Add a group.” You will then choose what kind of group you would like to add.

9. Select “Distribution” and click next – Select “Distribution” for the type of group you would like to add.

- Set up the Distribution list details. – Give the Distribution list a name and brief description.
a.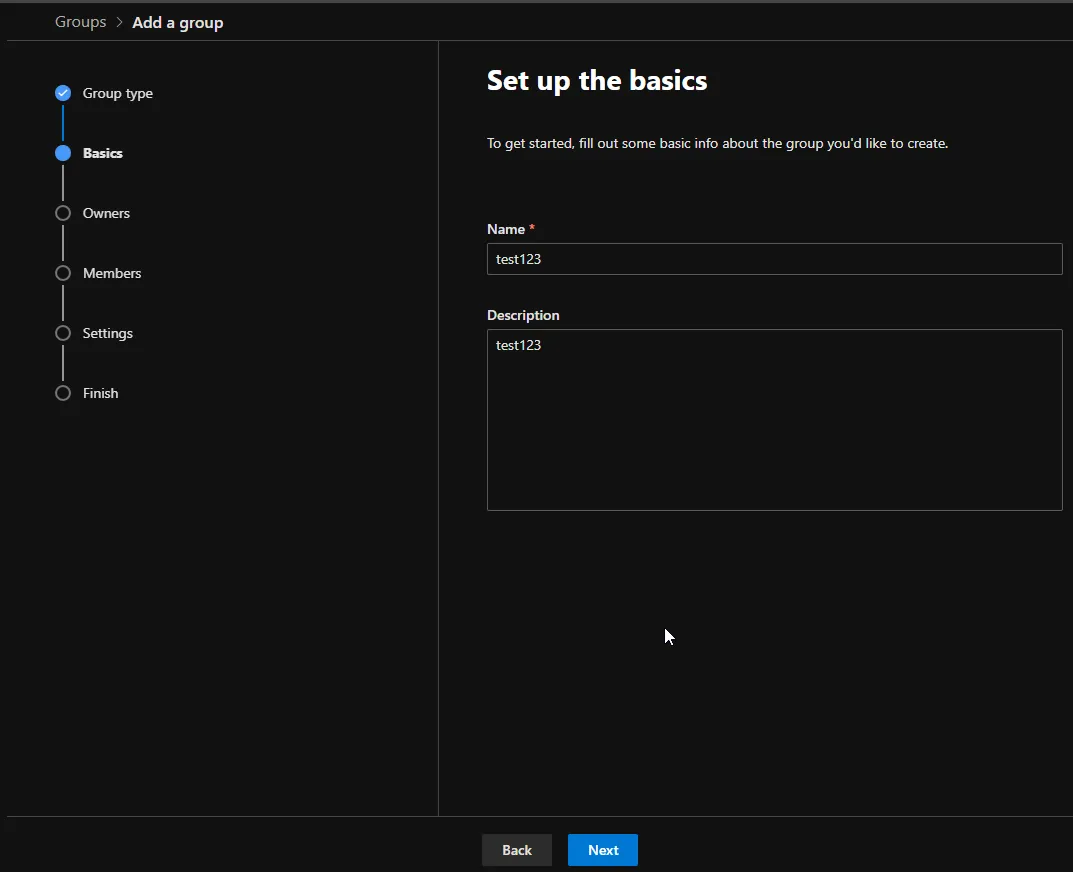
- Add an Owner. Select from the list of users (go for our Admin account as the owner if possible. If not, the client’s POC)
a. 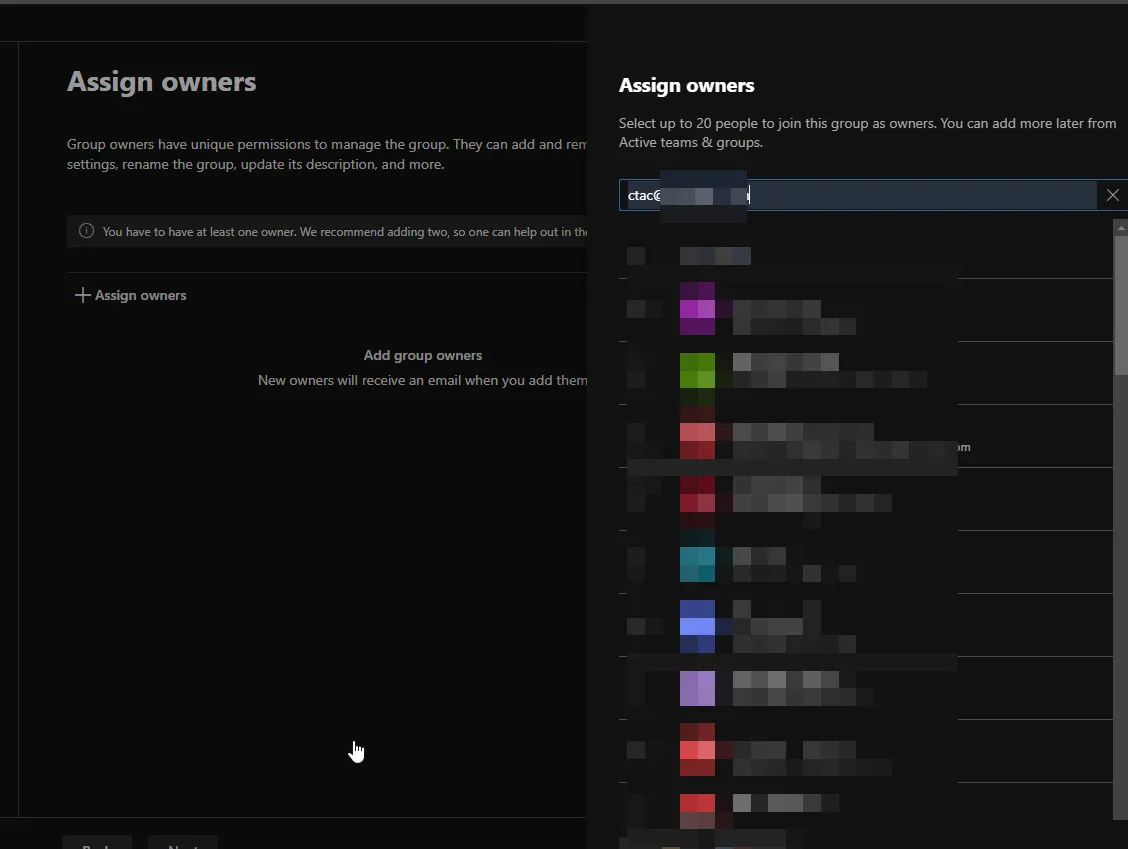
12.Add members based on the request submitted
a.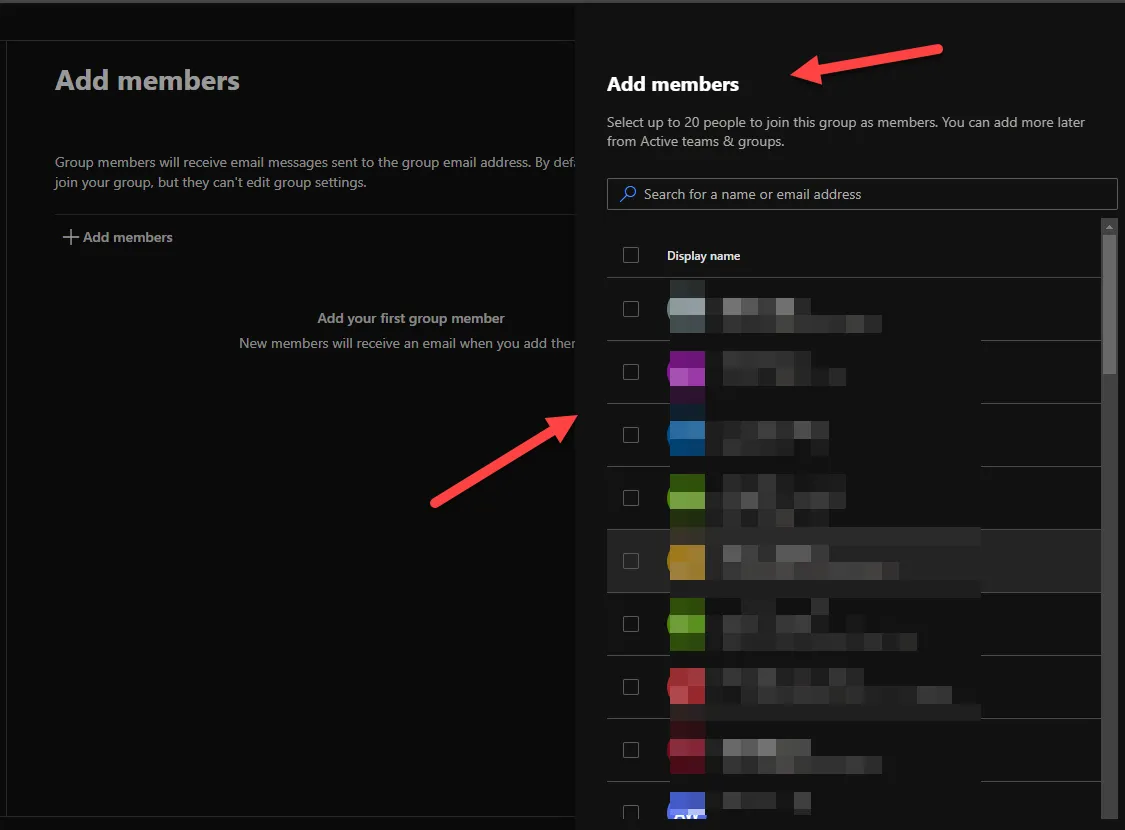
13.Settings – Add the Distribution lists with email address.
a. For Joining the Group: Select “Closed: only group owners can add members”.
b. For Leaving the Group: Select “Closed: only group owners can remove members”.

14. Review & Create Group – Check and verify your settings, then select “Create Group” on the bottom.