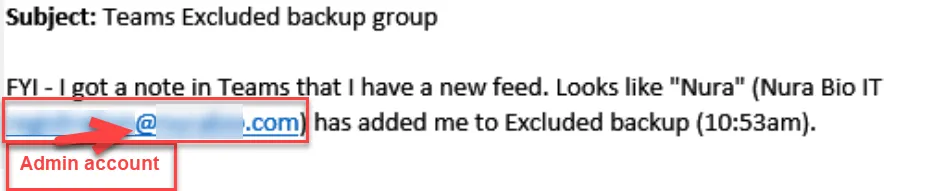
Before we start the config update the project space and notify the respective client vITM, make sure do NOT check the below box “Create a team for this group”.
Section titled “Before we start the config update the project space and notify the respective client vITM, make sure do NOT check the below box “Create a team for this group”.”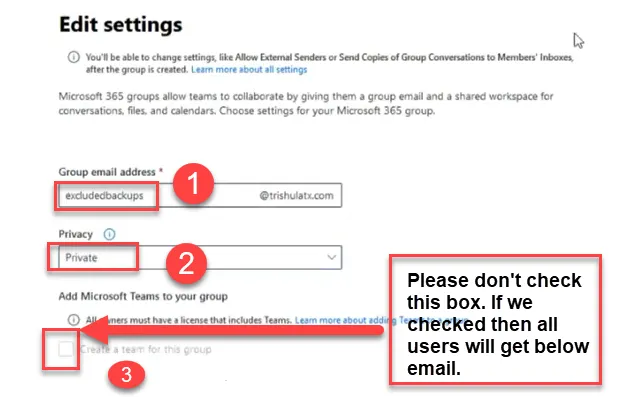
Configuration steps at M365
Section titled “Configuration steps at M365”Create M365 group called Excluded backups
Section titled “Create M365 group called Excluded backups”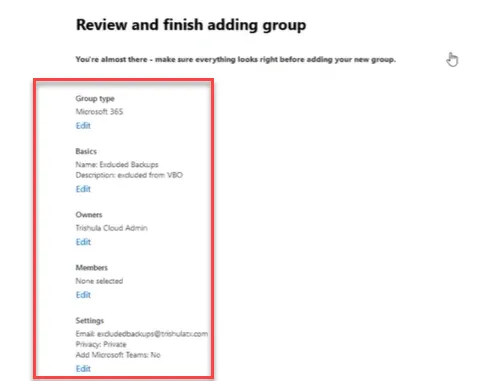
Go to active users and filter with Unlicensed users
Section titled “Go to active users and filter with Unlicensed users”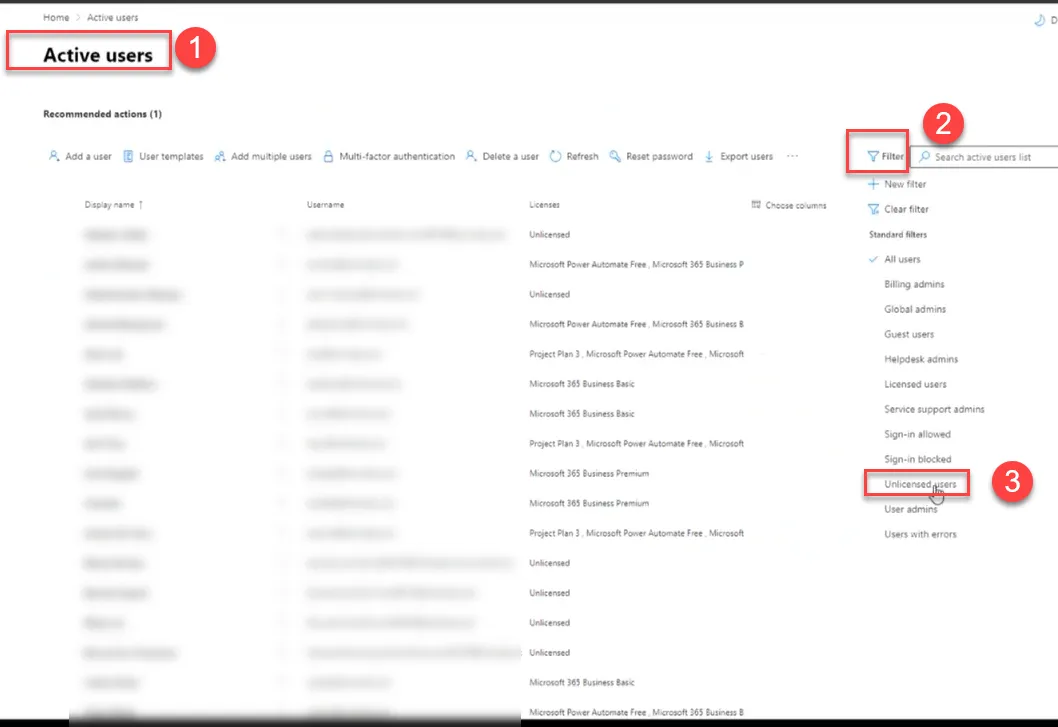
Select all unlicensed & sign in blocked users and click on Manage groups see below
Section titled “Select all unlicensed & sign in blocked users and click on Manage groups see below”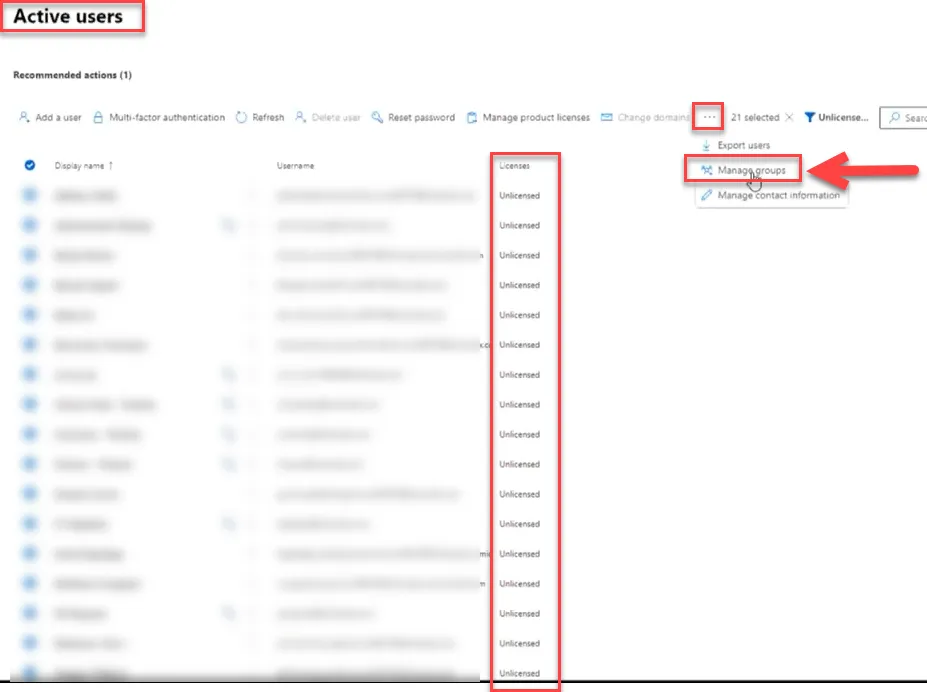
Assign all unlicensed and Sign in blocked users to group “Excluded Backup”
Section titled “Assign all unlicensed and Sign in blocked users to group “Excluded Backup””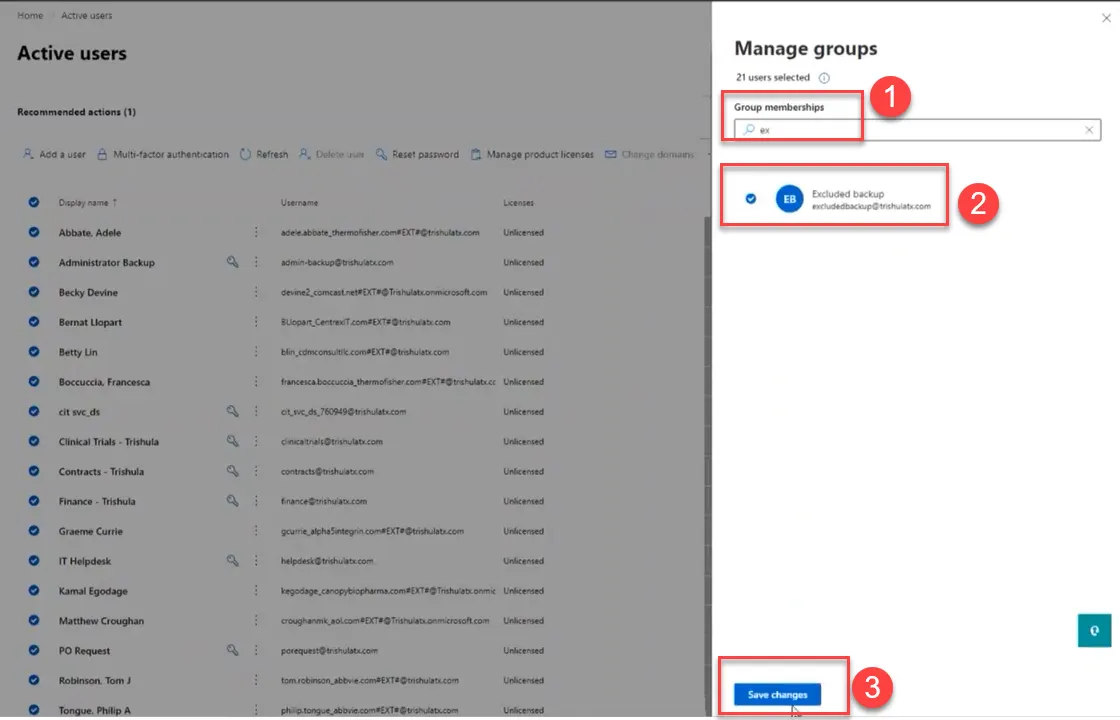
Configure Veeam Backup
Section titled “Configure Veeam Backup”Login to the VBO365 server (CIT-Azure-VBO) and launch the application. Click on the Organizations tab in the lower left pane. Then right click on Organizations in the upper left pane and select Add Organization.
Section titled “Login to the VBO365 server (CIT-Azure-VBO) and launch the application. Click on the Organizations tab in the lower left pane. Then right click on Organizations in the upper left pane and select Add Organization.”
Confirm the default Region and select Modern Authentication.
Section titled “Confirm the default Region and select Modern Authentication.”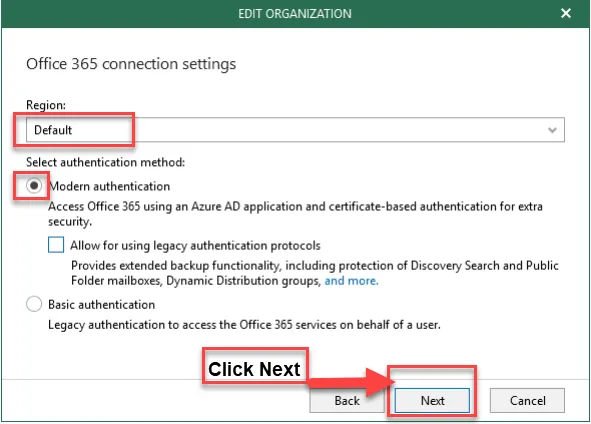
Select the “Register a new Azure AD application automatically” radial button.
Section titled “Select the “Register a new Azure AD application automatically” radial button.”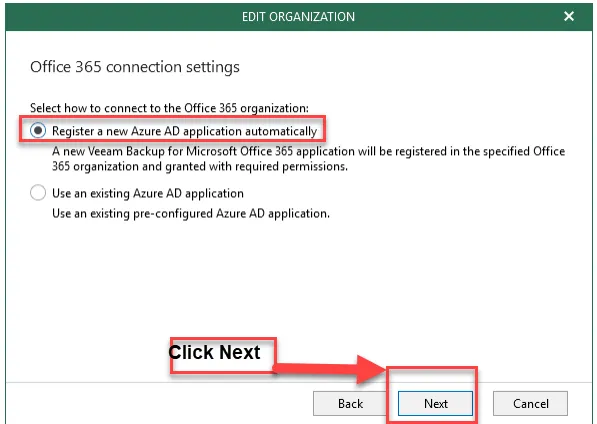
Input a name for the VBO365 application in Azure. For this document, VBO365(4c) in Azure name is chosen as this is the first iteration of VBO365 that provides this functionality.
Section titled “Input a name for the VBO365 application in Azure. For this document, VBO365(4c) in Azure name is chosen as this is the first iteration of VBO365 that provides this functionality.”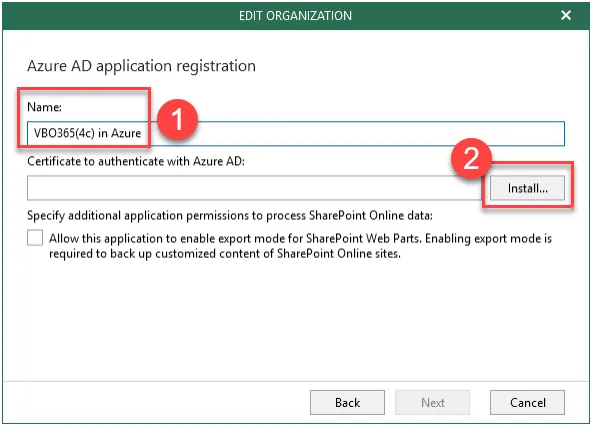
Confirm the Name and Certificate. Click Next
Section titled “Confirm the Name and Certificate. Click Next”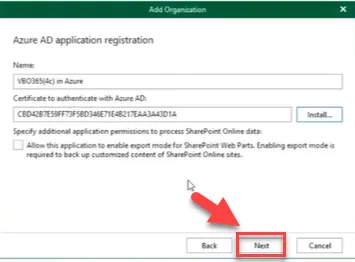
Follow the instructions to sign in. Copy code and click the link to open the sign-page or provide the code to the tenant to login on the your (the service provider’s) behalf.
Section titled “Follow the instructions to sign in. Copy code and click the link to open the sign-page or provide the code to the tenant to login on the your (the service provider’s) behalf.”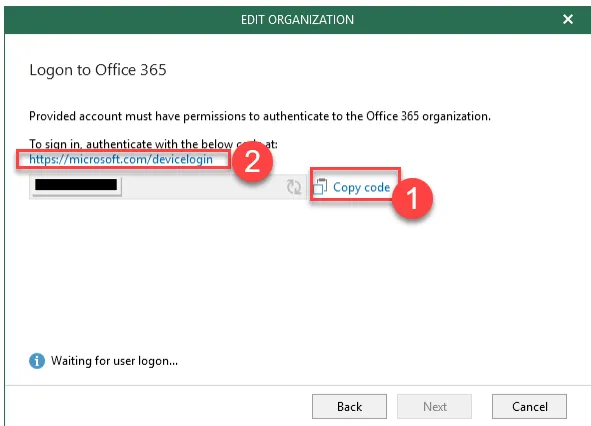
Paste the code and click Next.
Section titled “Paste the code and click Next.”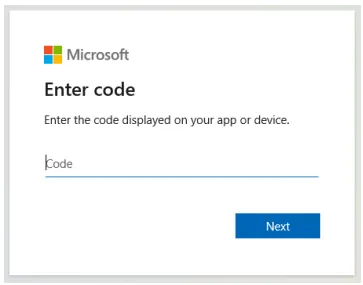
Choose the appropriate admin account to login to O365 tenant and Sign in
Section titled “Choose the appropriate admin account to login to O365 tenant and Sign in”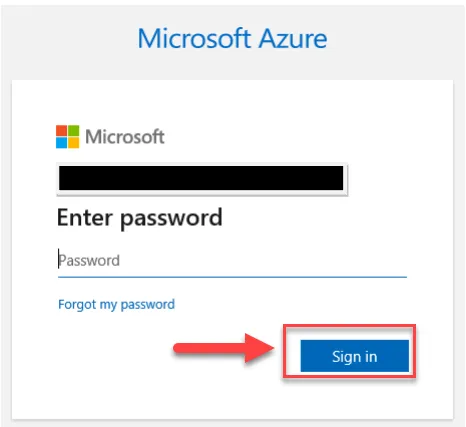
Click Continue.
Section titled “Click Continue.”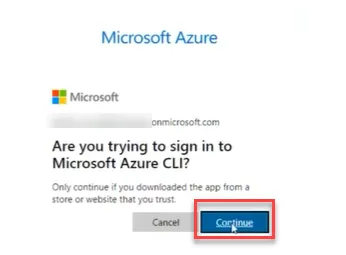
The result should be
Section titled “The result should be”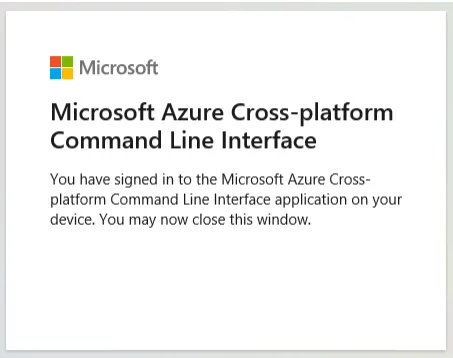
A message should indicate authentication Click Next.
Section titled “A message should indicate authentication Click Next.”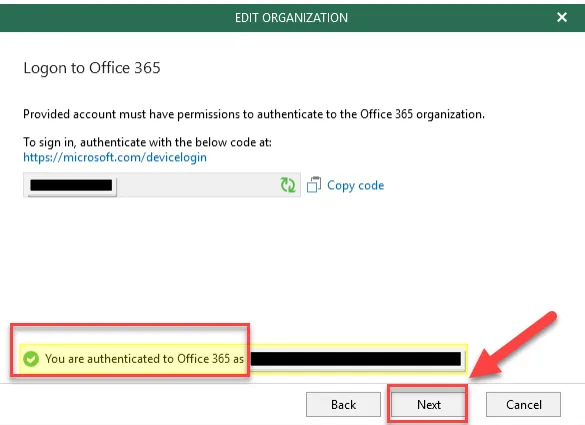
VBO365 will create the Azure AD application and configurations.
Section titled “VBO365 will create the Azure AD application and configurations.”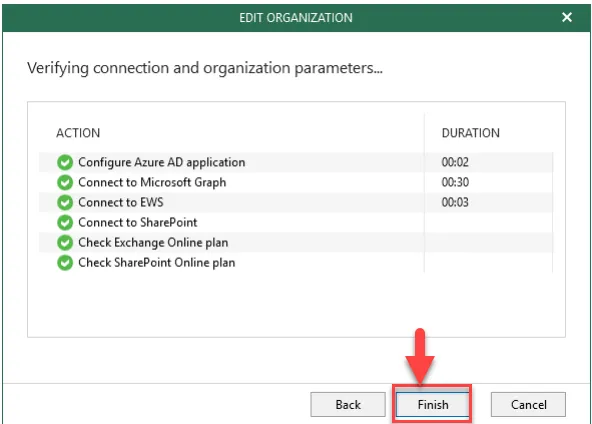
In the VBO365 Console, in Organizations right click on the tenant organization and select Manage backup applications.
Section titled “In the VBO365 Console, in Organizations right click on the tenant organization and select Manage backup applications.”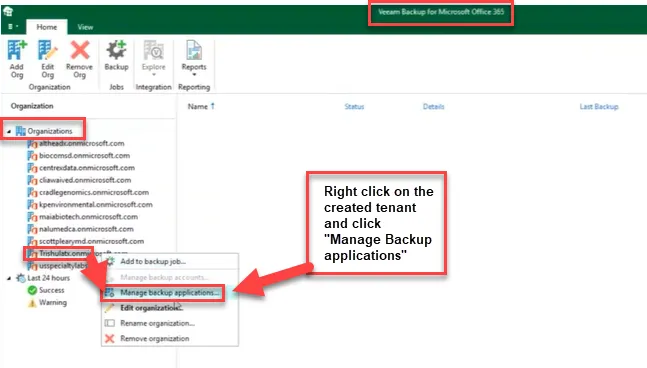
Click on Create.
Section titled “Click on Create. ”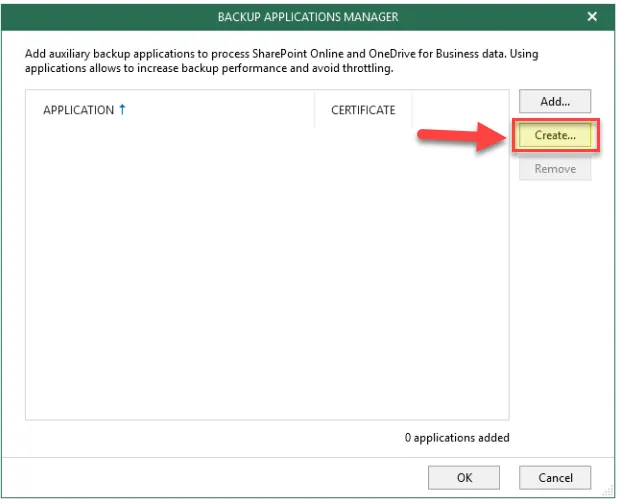
Input a Name, install a certificate, and set the number of applications to create. In this case, 8 instances of the Azure AD Application will be created with the same name and certificate. Click Next.
Section titled “Input a Name, install a certificate, and set the number of applications to create. In this case, 8 instances of the Azure AD Application will be created with the same name and certificate. Click Next.”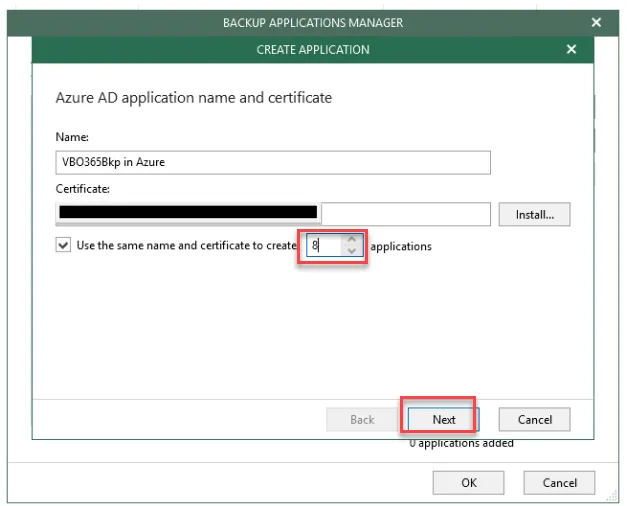
Follow the instructions to sign in ( Like previously did see above). Copy code and click the link to open the sign-page or provide the code to the tenant to login on the your (the service provider’s) behalf.
Section titled “Follow the instructions to sign in ( Like previously did see above). Copy code and click the link to open the sign-page or provide the code to the tenant to login on the your (the service provider’s) behalf.”
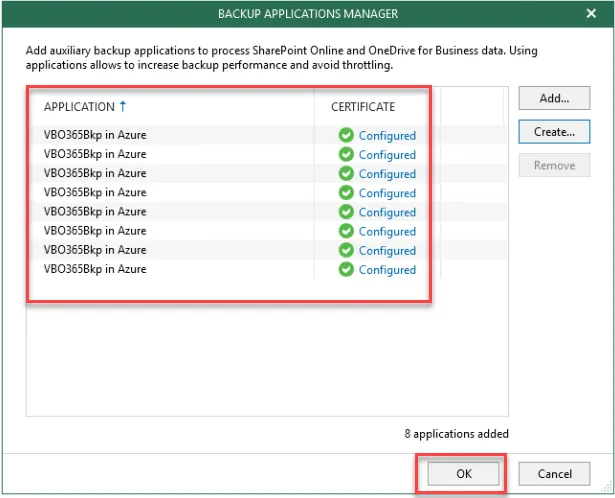
The result should be similar to the following graphic. Click Finish
Section titled “The result should be similar to the following graphic. Click Finish”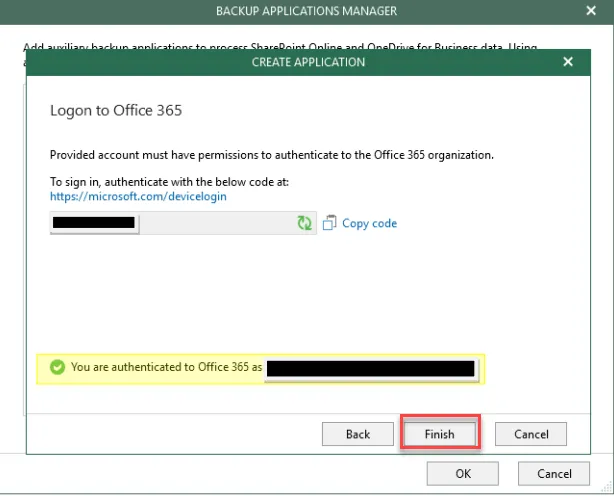
You will get below completion of the AD App creation. Click Ok
Section titled “You will get below completion of the AD App creation. Click Ok”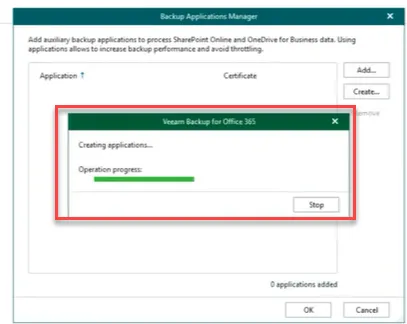
Login to CentrexIT Azure portal with Admin credentials.
Section titled “Login to CentrexIT Azure portal with Admin credentials.”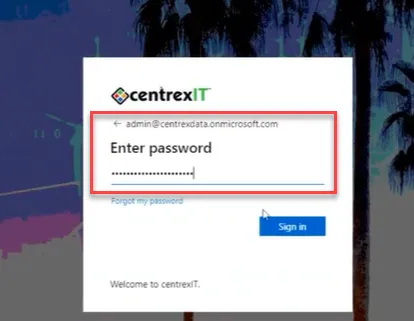
On Azure portal click on subscriptions
Section titled “On Azure portal click on subscriptions”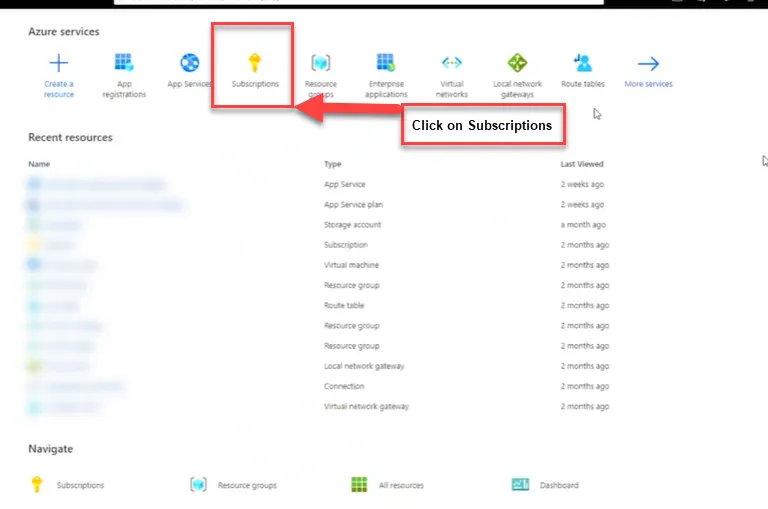
Click the Subscription name CentrexIT # 1286593
Section titled “Click the Subscription name CentrexIT # 1286593”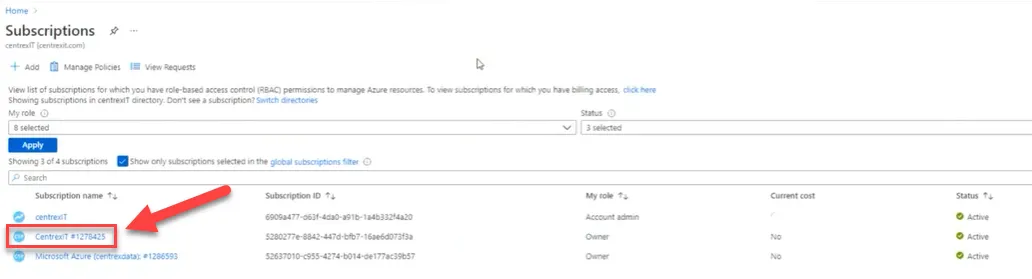
Click the CIT-RG-Veeam
Section titled “Click the CIT-RG-Veeam”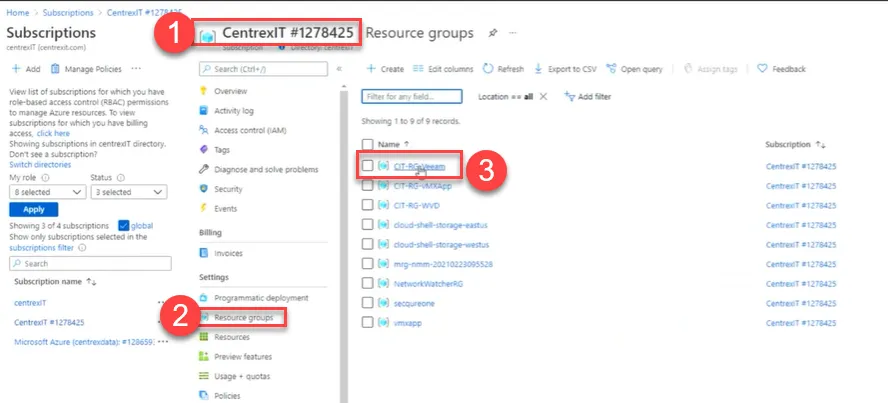
Click storage account “citvboblob”
Section titled “Click storage account “citvboblob””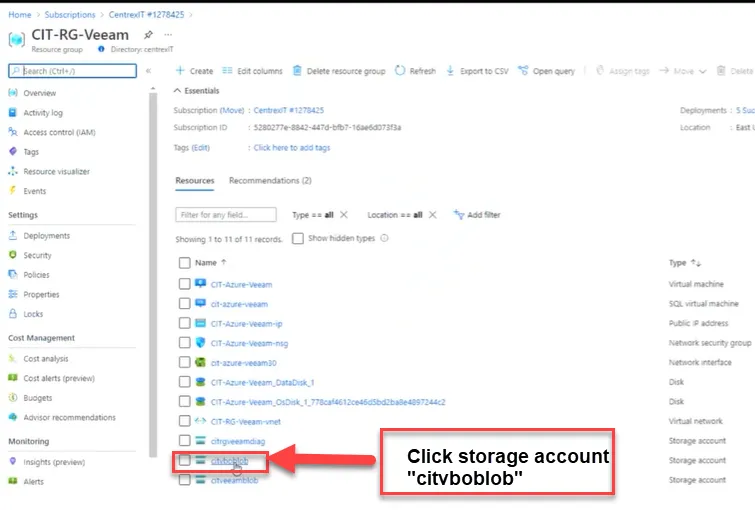
Create new Container for the new client like other existing clients.
Section titled “Create new Container for the new client like other existing clients.”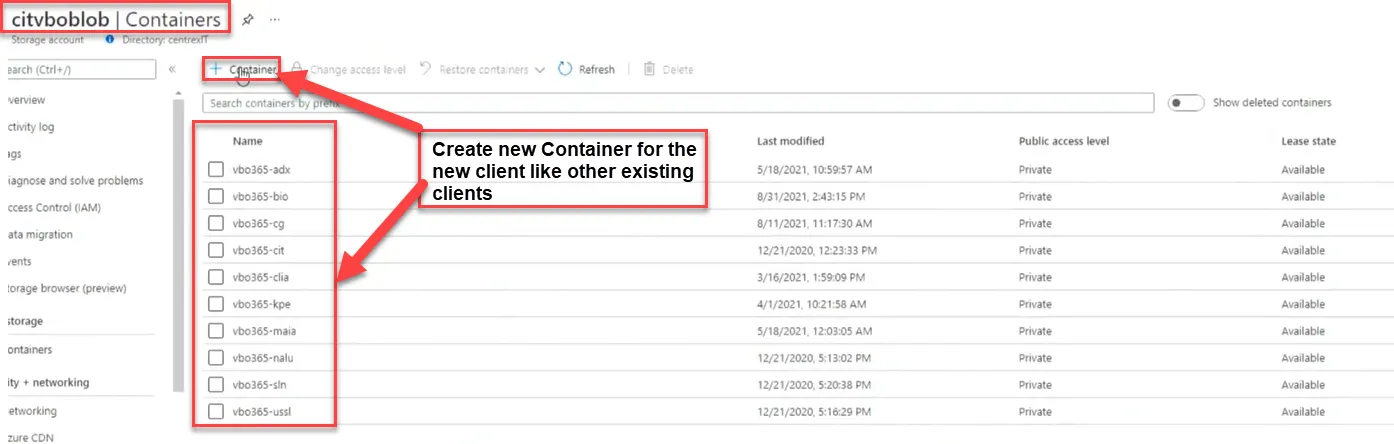
Container name should be vbo365- (client acronym**)**
Section titled “Container name should be vbo365- (client acronym**)**”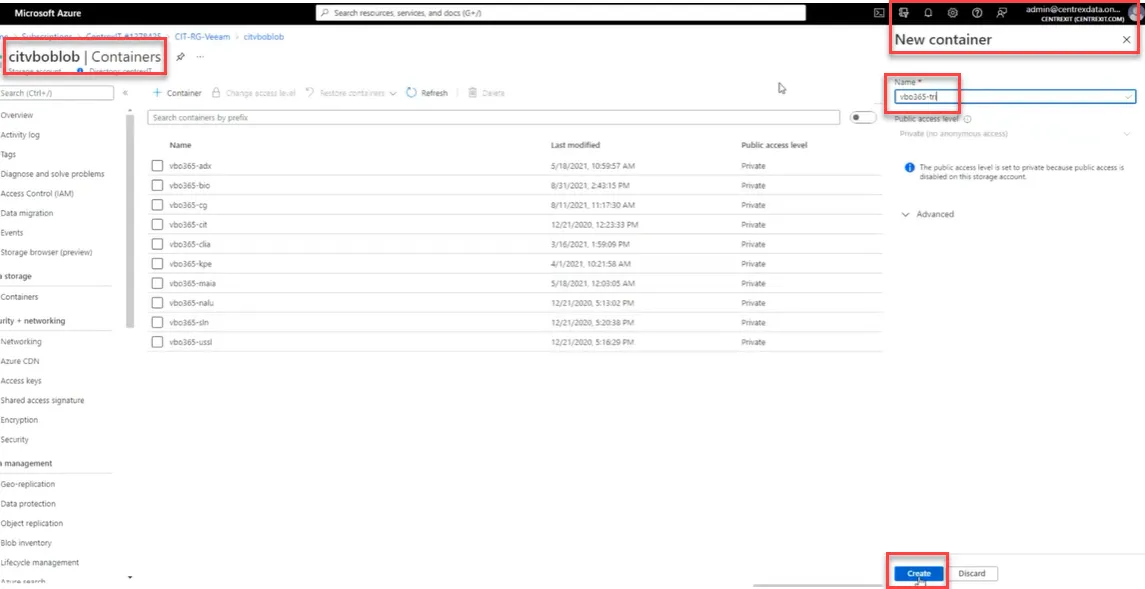
New container created
Section titled “New container created”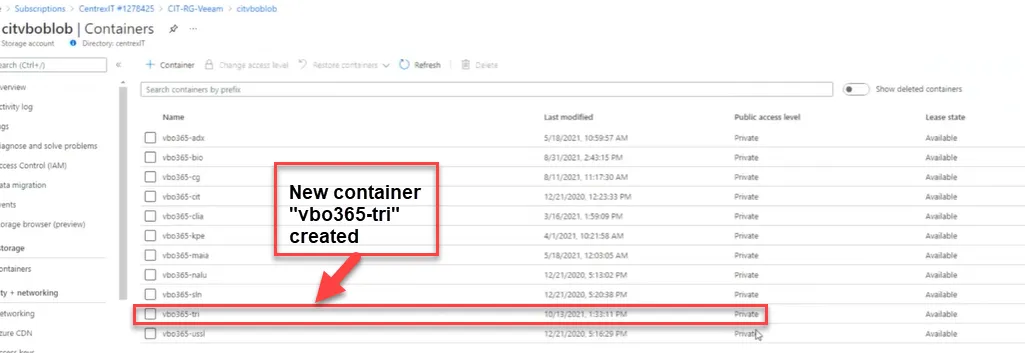
Create a Tenant Object Storage Repository
Section titled “Create a Tenant Object Storage Repository ”Click on Backup Infrastructure in the bottom left pane and then select on Object Storage Repositories. Click on Add Object Storage in the ribbon menu. Enter a name for the object storage repo. It is suggested to include the tenant name, retention, and backup type (snap) in the naming scheme. Click Next.
Section titled “Click on Backup Infrastructure in the bottom left pane and then select on Object Storage Repositories. Click on Add Object Storage in the ribbon menu. Enter a name for the object storage repo. It is suggested to include the tenant name, retention, and backup type (snap) in the naming scheme. Click Next.”
Select Microsoft Azure Blob Storage. Click Next.
Section titled “Select Microsoft Azure Blob Storage. Click Next. ”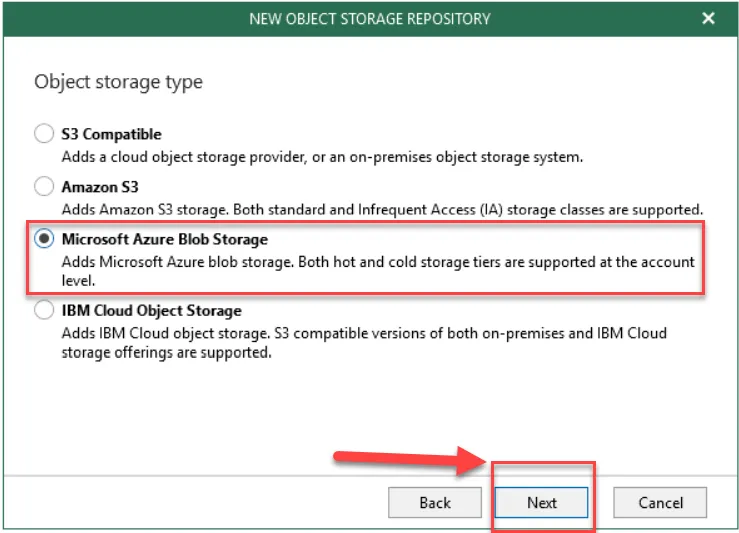
Select the container for the client
Section titled “Select the container for the client”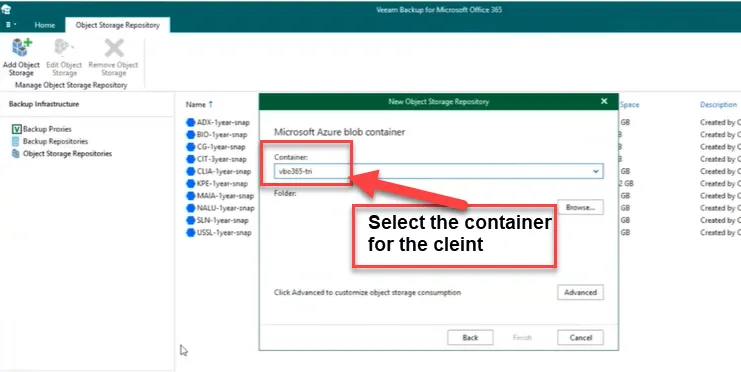
Click browse and create a new folder called “1year snap”
Section titled “Click browse and create a new folder called “1year snap””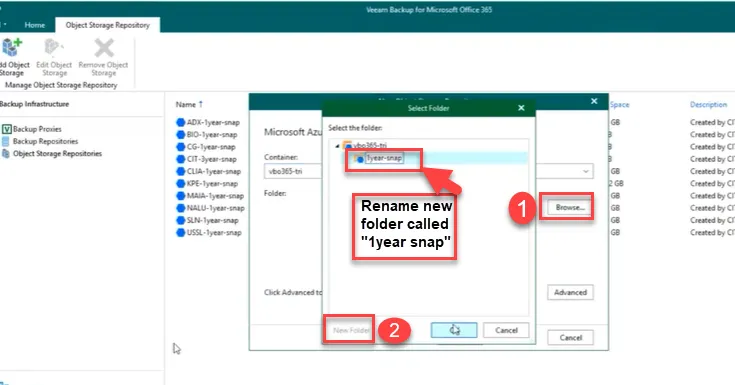
Click Finish. we completed with creation of Object Storage Repository
Section titled “Click Finish. we completed with creation of Object Storage Repository”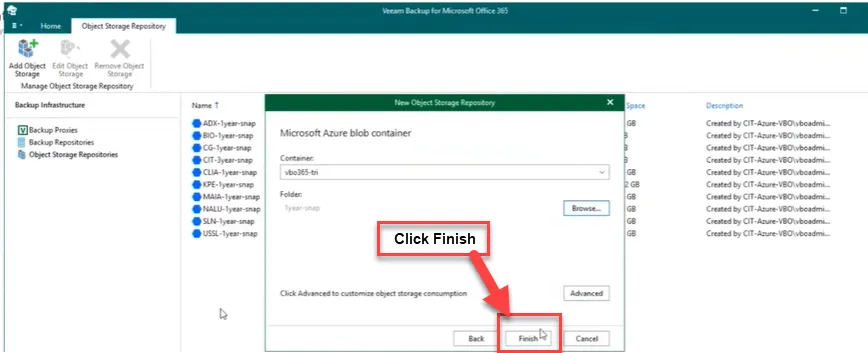
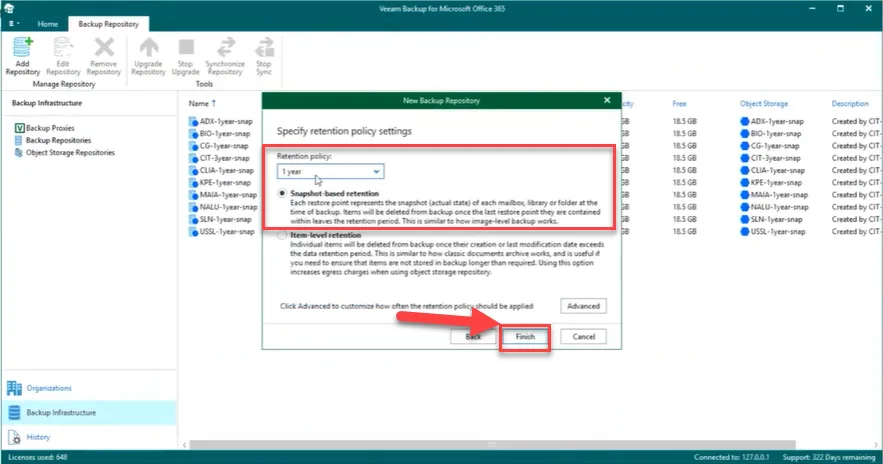
Configure a Tenant Backup Repository
Section titled “Configure a Tenant Backup Repository ”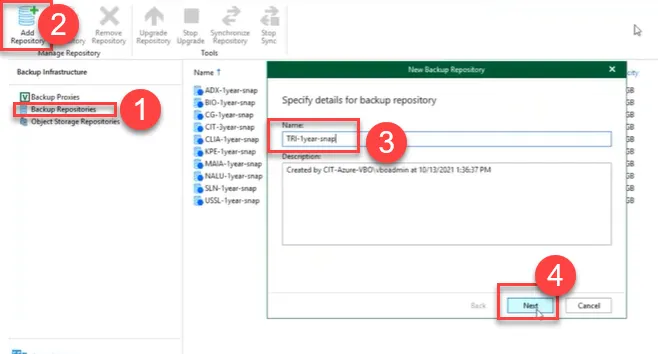
Create a New client folder in the Backups folder located in the MetaData (F:\)
Section titled “Create a New client folder in the Backups folder located in the MetaData (F:\)”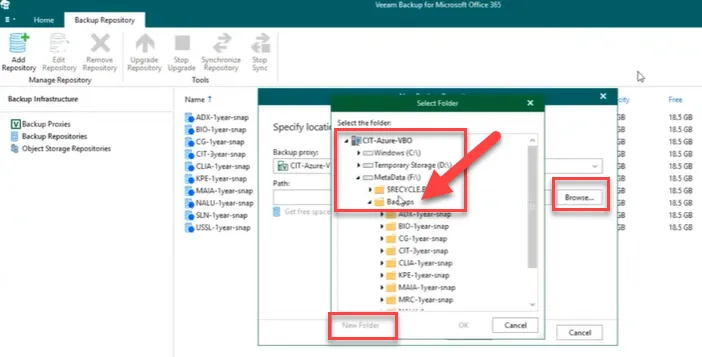
Create folder and Click OK.
Section titled “Create folder and Click OK.”
Click Next
Section titled “Click Next”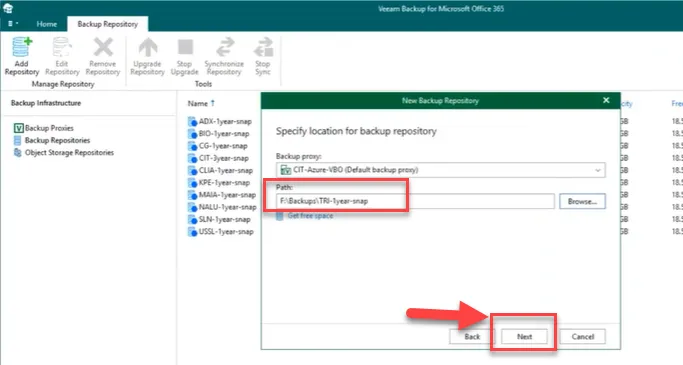
Click Next.
Section titled “Click Next.”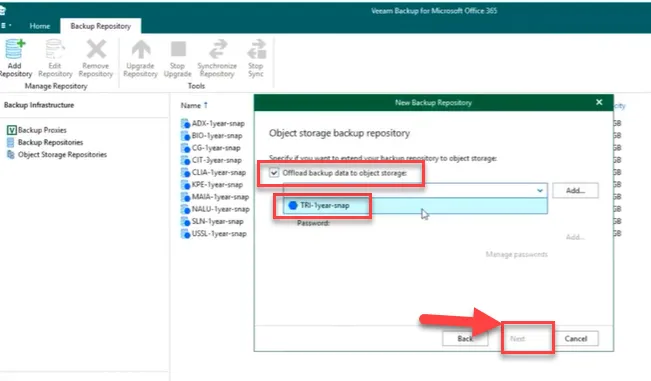
Check the Offload backup data to object storage” checkbox and select the tenant folder. Add or select a password if enabling encryption.
Section titled “Check the Offload backup data to object storage” checkbox and select the tenant folder. Add or select a password if enabling encryption.”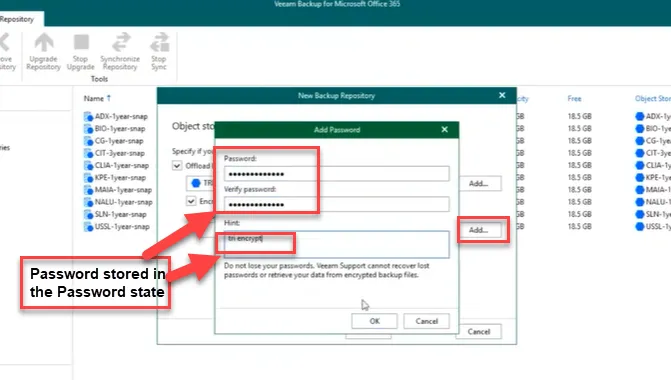
Click Next.
Section titled “Click Next.”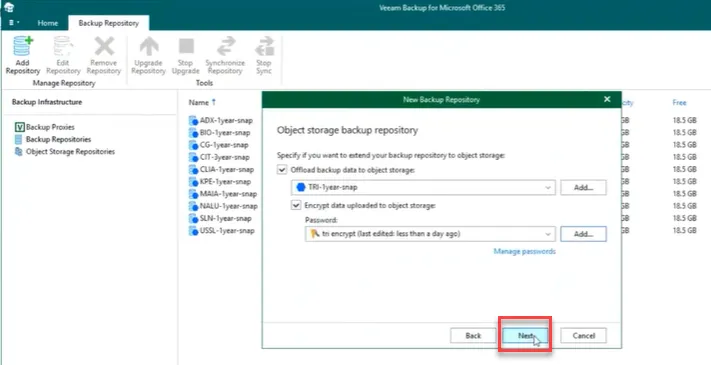
Click Finish.
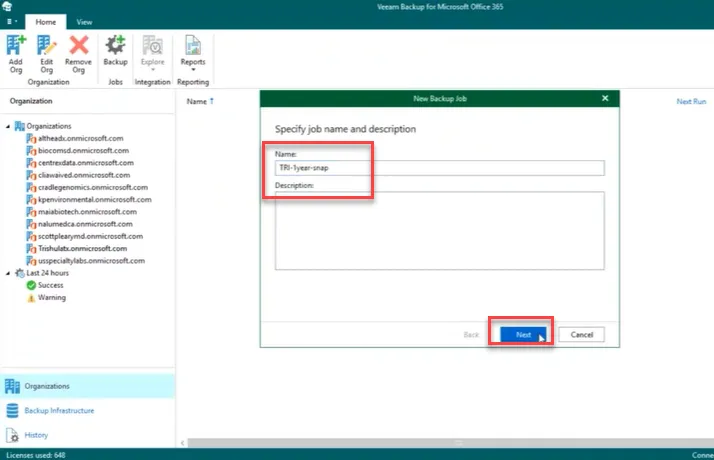
Create backup jobs for the client

Click next after selecting backup entire Org
Section titled “Click next after selecting backup entire Org”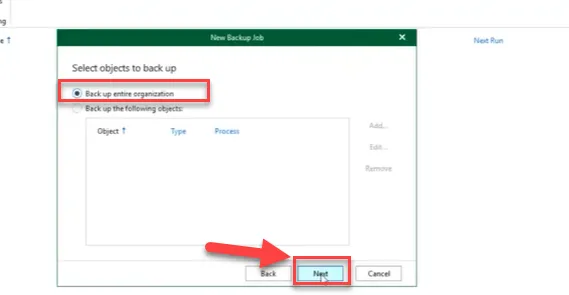
Exclude the group doesn’t need to be backup
Section titled “Exclude the group doesn’t need to be backup”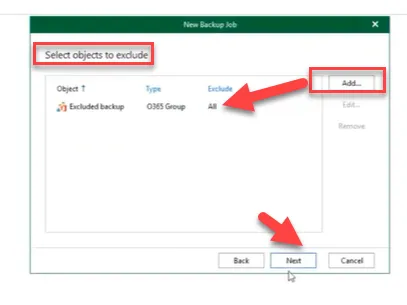
Select the client backup repository and click Next.
Section titled “Select the client backup repository and click Next.”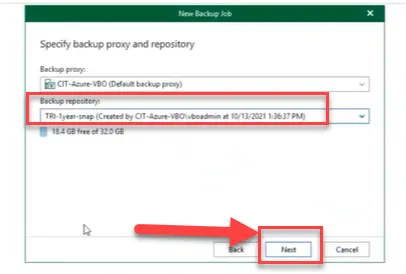
Click create
Section titled “Click create”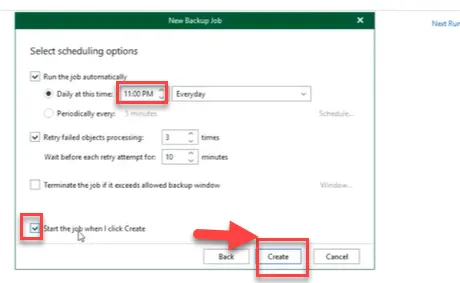
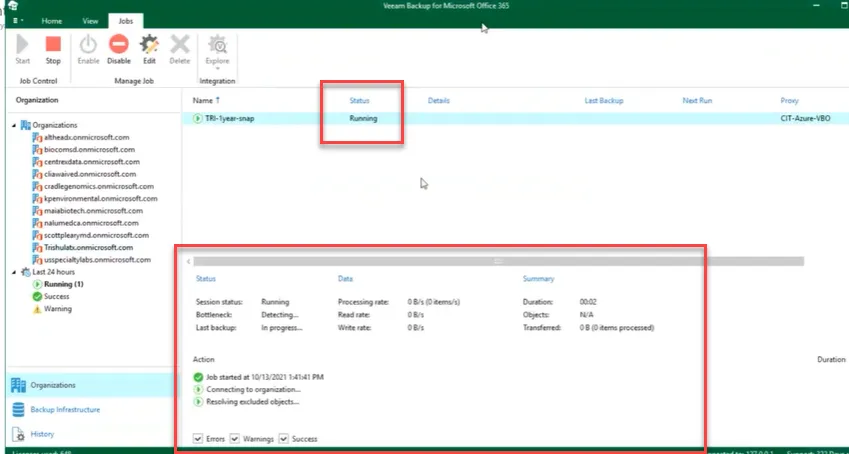
Backup job started.
Section titled “Backup job started.”