How to install Microsoft Office 2019 Standard Volume License on RDS Session Hosts
Section titled “How to install Microsoft Office 2019 Standard Volume License on RDS Session Hosts”Purpose: This work instruction walks you through the process of installing Microsoft Office 2019 Volume License or higher on RDS Session Hosts.
Audience: Project Engineers going through an RDS Session Host Deployment.
Assumptions: Assumes the RDS servers are in cIT’s Private Cloud and utilizing cIT’s Volume Licensing. If you are installing Office on client’s on-prem servers, please use the client’s Volume Licensing product key.
Download the Office Deployment Tool (ODT)
Section titled “Download the Office Deployment Tool (ODT)”Log into the Microsoft Volume Licensing site, search for Office 2019 Standard, and download the Office 2019 Deployment Tool .exe.
https://www.microsoft.com/Licensing/servicecenter/Home.aspx
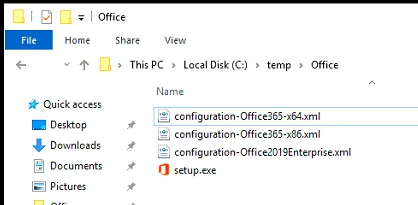
Run the file and follow the wizard to extract it to C:\temp\Office. Once extracted, your C:\temp\Office should look like this:
Create the Configuration.xml file
Section titled “Create the Configuration.xml file”Once you’ve downloaded the Office Deployment Tool, you will create a NEW configuration file that tells ODT the installation parameters for Office.
Create a new .txt file in C:\temp\Office and name it configuration.txt.

Copy the following text to your configuration.txt file:
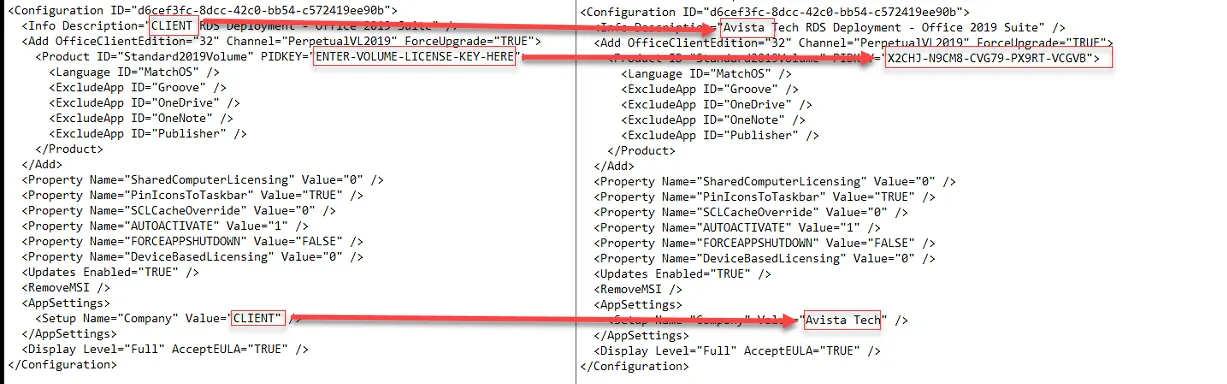
Update the following values within the line of code:
- CLIENT = Client name, like Avista Tech
- ENTER-VOLUME-LICENSE-KEY-HERE = The actual product license key
See example:
Save your configuration.txt file. Once saved, rename the extension to .xml.

Download the Office Installation Files
Section titled “Download the Office Installation Files”Once you have your configuration file created, you will run a command to download the installation files.
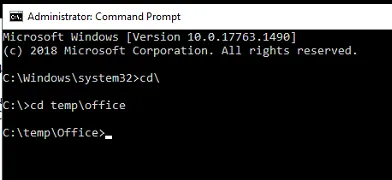
Open an elevated command prompt and change the directory to C:\temp\Office.
Run the following command:
Change user /install
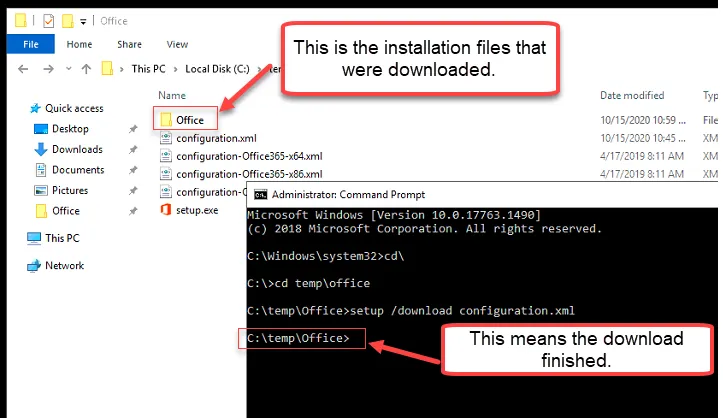
setup /download configuration.xml
The download will begin. You’ll know it is complete once you see a new line on the command prompt. You’ll also see a new folder named “Office”.
Install Office 2019 Standard
Section titled “Install Office 2019 Standard”Now that the installation files have been installed, you will need to run the following command to perform the install.
setup /configure configuration.xml
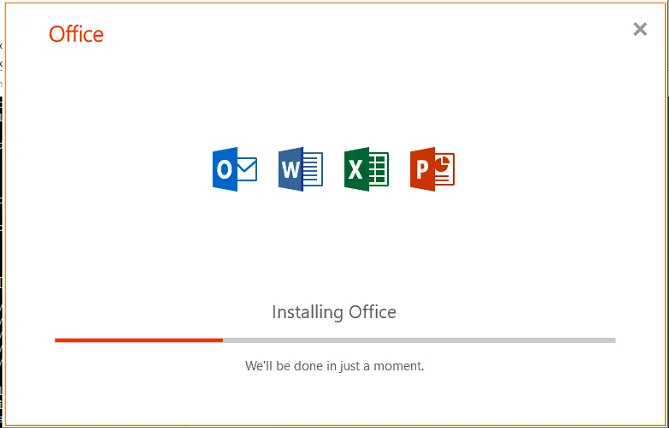
If the command is successful, Office will begin to install.
Once the office installation is done, you’ll see the following window. Click Close to exit.
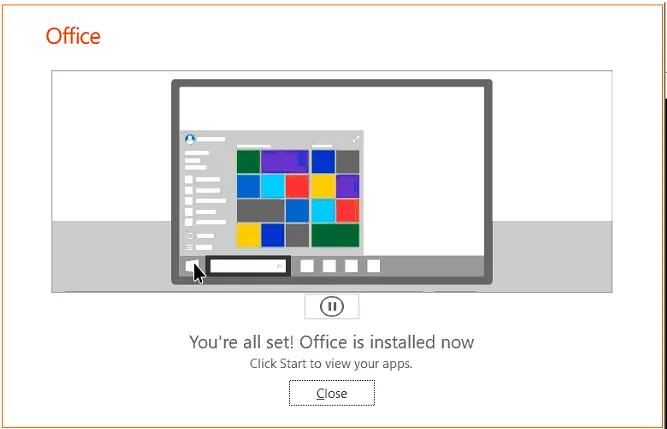
You’re all set! Office is now installed.
From the CMD windows, put in
Change user /execute