How to Create an Azure Virtual Machine
Section titled “How to Create an Azure Virtual Machine”And Configure Veeam CloudConnect for Offsite Backup Copies
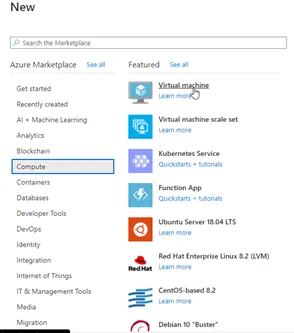
Section titled “And Configure Veeam CloudConnect for Offsite Backup Copies”1. Login to the customer’s Azure tenant, go to the provisioned subscription, and click Create resources.

2. Select Compute -> Virtual machine.
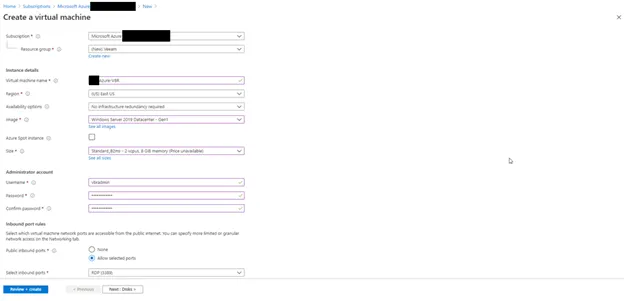
3. Fill out the properties for the VM, and click disks.
4. Set OS disk as standard. For data disk, click “Create and attach a new disk”.
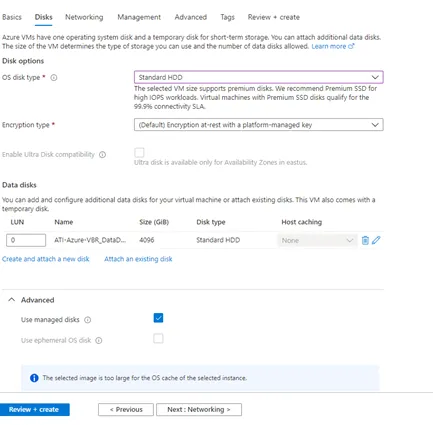
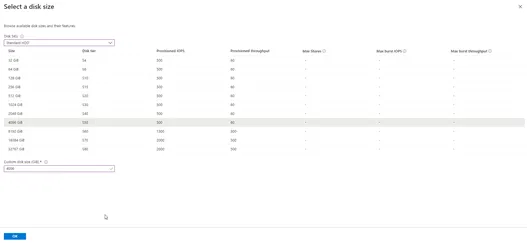
5. Select Change size.
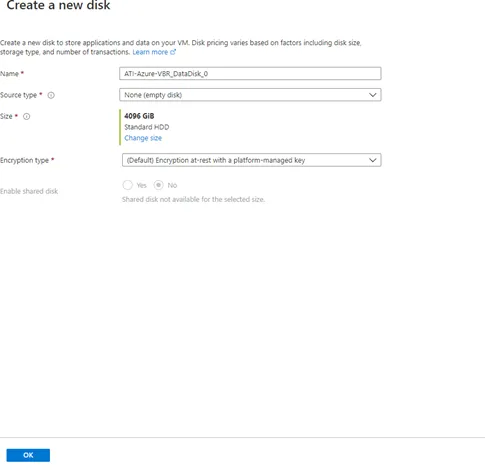
6. Select Standard HDD and set size needed. Choose the smallest possible size for backups, as the disk can be increased, but not reduced. Click OK then Next to networking.
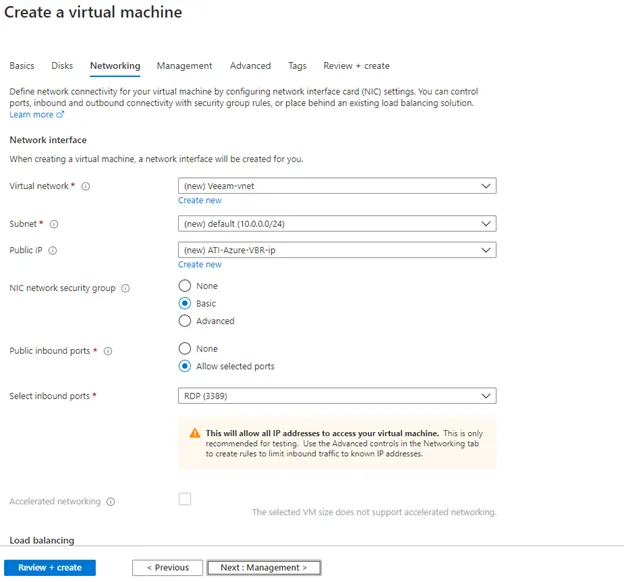
7. On the Networking tab, leave on the defaults; networking will be changed once provisioned. Click Next: Management to proceed.
8. On the Create a virtual machine page, leave on the defaults. Click Review + create.
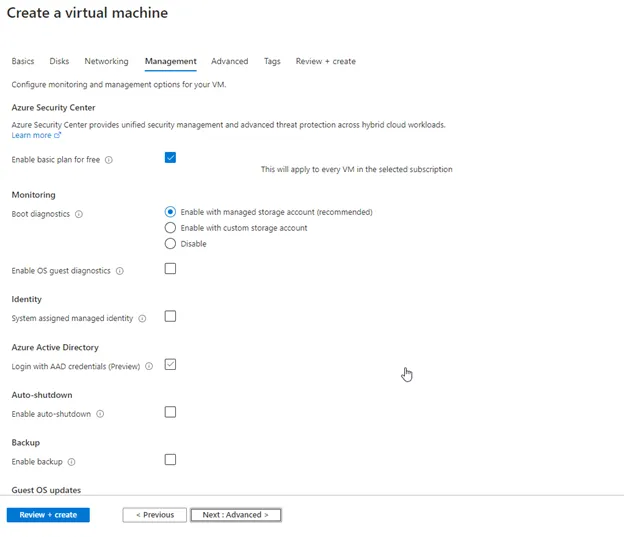
9. Click Create to create the VM.

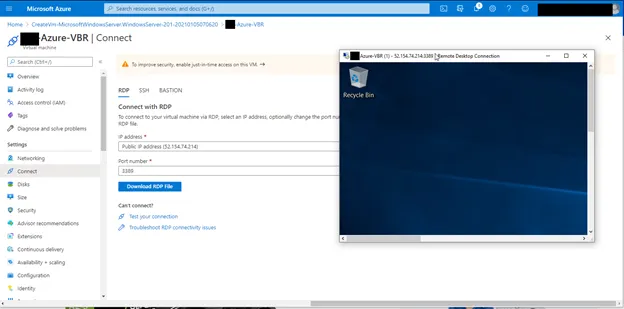
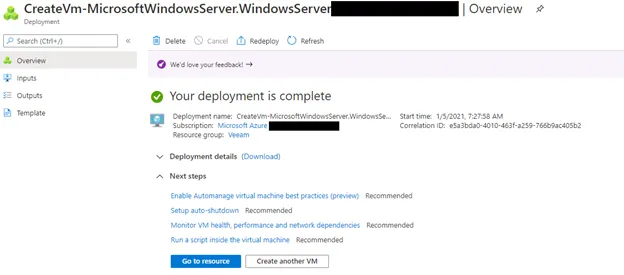
10. After machine is provisioned, click Go to resource.
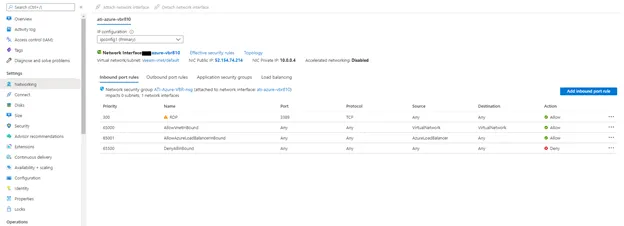
11. Click Networking under Settings on the left and add inbound port rules for ports 6180, 1280, and 3389 from the source IP of the customer’s environment (if on-prem) and from the source IPs of CIT’s datacenter.
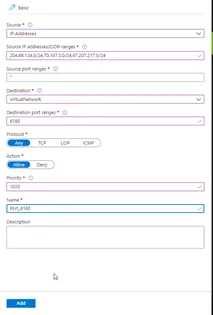
12. Click Add inbound port rule and configure as follows. Repeat for all ports.
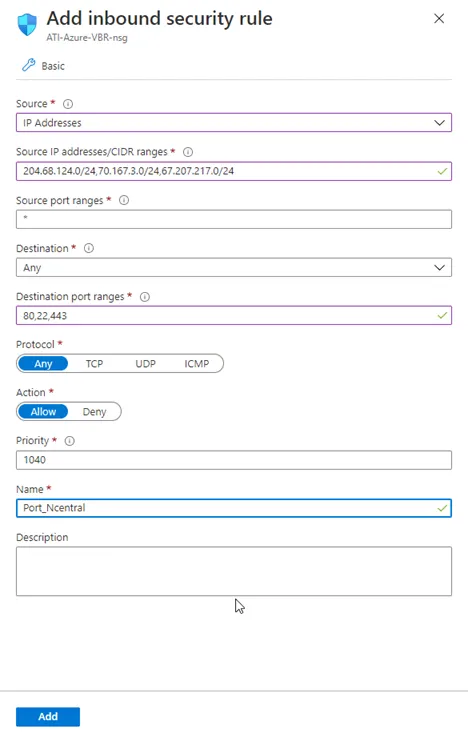
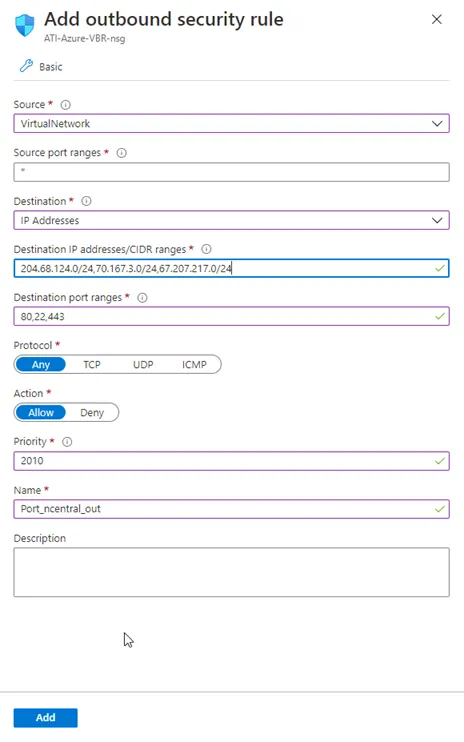
13. Add inbound and outbound port rules for nCentral as follows:
14. Once NSG has been configured, connect to the VM from the Overview tab and begin configuring.