General Process
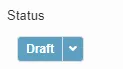
1. After creating a KB, save it using the “Save and stay here” icon and click on the drop-down arrow for the Draft button, found on the right under Status.
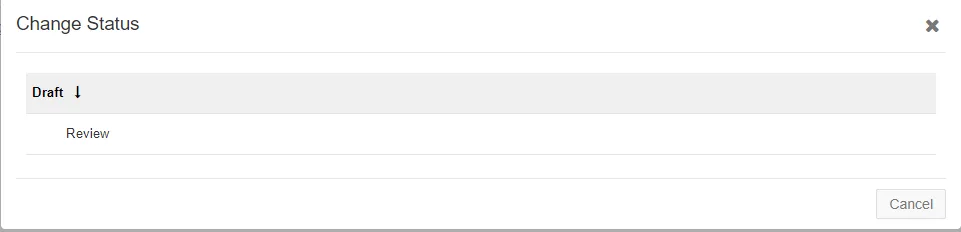
2. A “Change Status” menu will pop up prompting to change the KB status to “Review”. Select this option. Please double-check that the KB is set to the correct client before changing it to Review status.
3. After this, the status will change to Review and the approver will be sent an email notifying them to review the KB for approval.

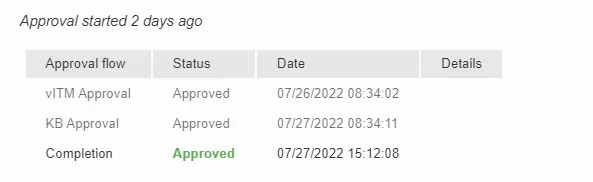
The approvers vary depending on whether this is a Centrex or client KB. If this is a Centrex KB, the KB will be approved by a member of the KB approval team. If it is a client KB, the KB will first be approved by the client vITM, followed by a member of the KB approval team.
If an approver denies the KB, this will set the KB back to Draft status and the author should receive an email letting them know that the KB was denied, as well as the reason why. The author can then make any necessary changes and then set the KB back to Review status for a new approval.
Approver Process
1. The approver(s) will receive an email saying they have a pending approval for Knowledge. Click on the “Click here to see record” link to open the KB page. Please note that the KB approval request is only valid for two weeks, after which you will need to ask someone from the KB team send a new request email.
2. At the top will be red thumbs down and green thumbs up icons. These are to deny or approve the KB respectively.

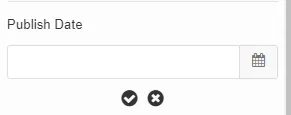
3. If deciding to approve, click the thumbs up icon. After this, set the Publish Date found on the right to today’s date by clicking on the pencil icon on the right side of the box (it will pop up when you hover your mouse on “Publish Date”) and then select the date by clicking the calendar icon that comes up. After this, click the check icon to save. Once done, select either of the save options before closing out the KB. After this, the KB will change to “Published” status.
4. If deciding to deny, you will be taken to a Rejection page where you will be required to enter the reason(s) the KB was denied in a text box. After completing this, click OK. This should notify the author that the KB was denied. After clicking OK, the KB will be set back to Draft status.

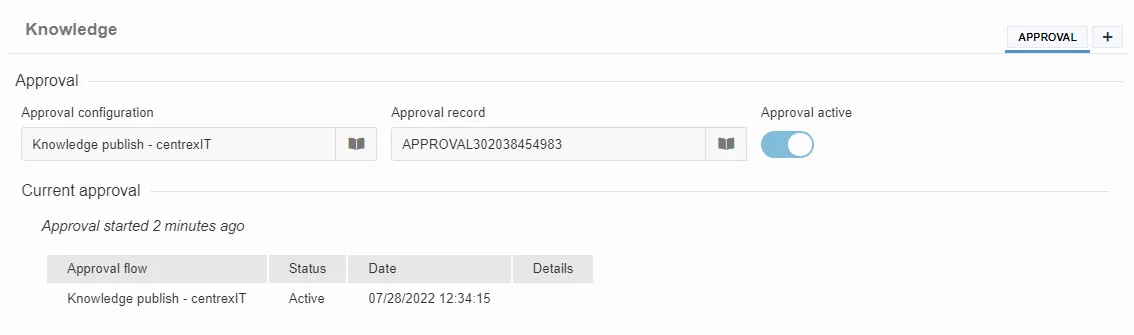
Check Approval Status
If you want to check where a KB is in the approval process, you can view this by clicking on the “Approval” button found at the top right of the KB page.

This will take you to a page which will show the current approval status. If the approval is in “Active” status, it means that approval is still pending. If in “Approved” status, the KB has been approved. Please see below for examples; the Knowledge publish approver is the KB approval team.